

Disclosure: some of the links you'll find here are affiliate links. When you use them to grab some embroidery goodies, I may earn a teeny tiny commission at no extra thread to you.
Finishing the back of your hoops can be essential if you want to frame your projects or giving them away as gifts.
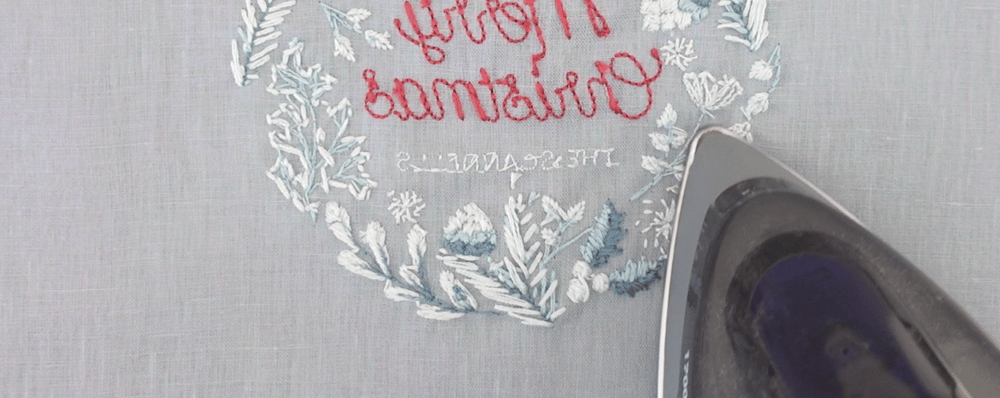
To start, after removing your project from the embroidery hoop, you can give it a quick iron to remove wrinkles or any remaining marks from the heat eraser pens.
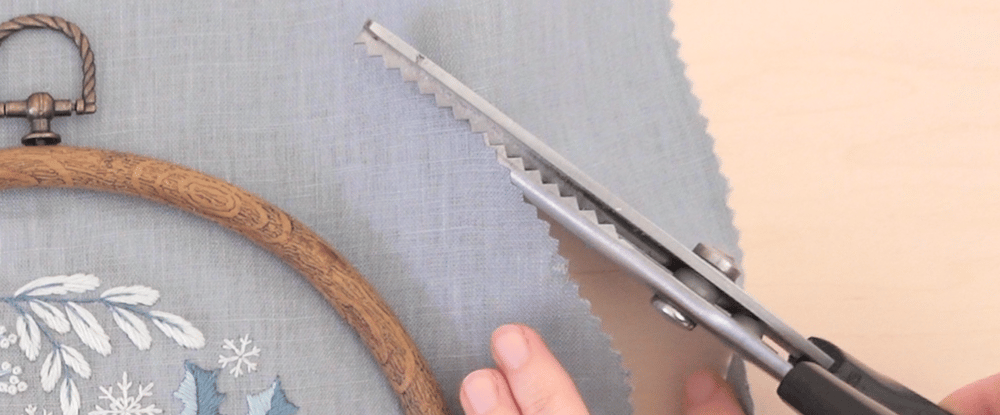
Using the outer hoop as a guide, trim and leave a margin of about 2 inches around the edge. You can use a pair of pinking shears to help prevent the fabric's edge from fraying.
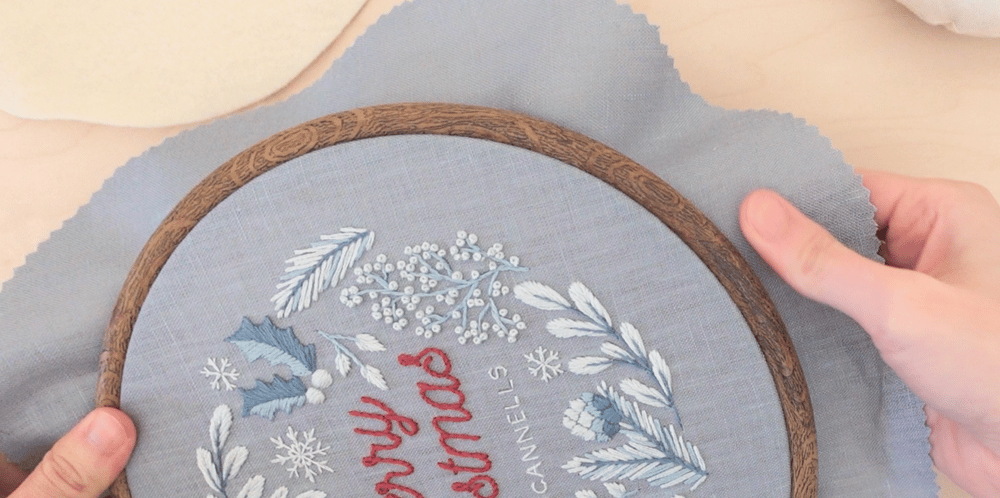
Placed your project onto the hoop as usual. Remember to keep the fabric taut and drum-tight.
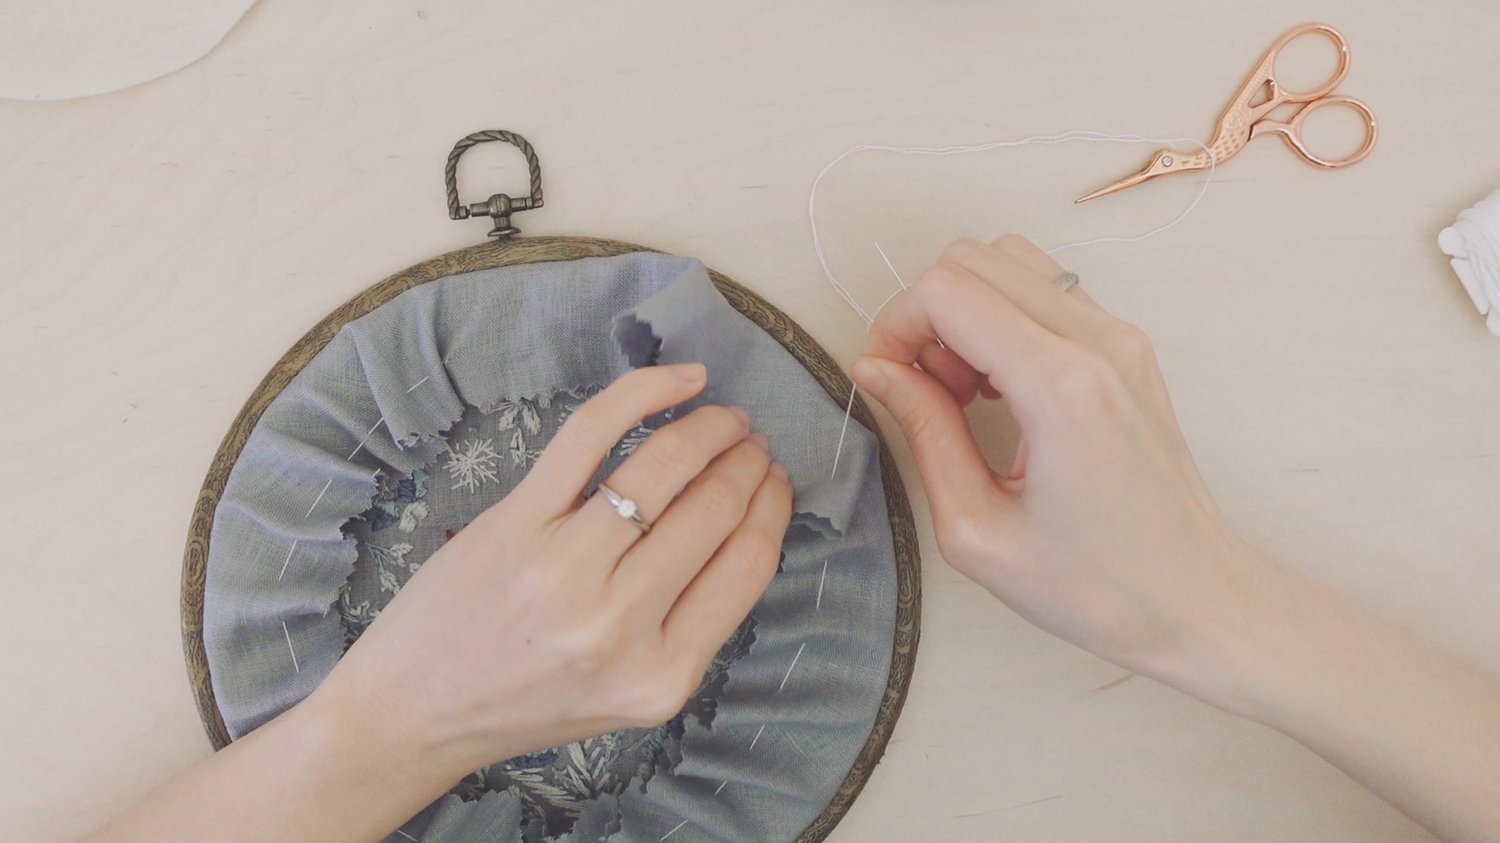
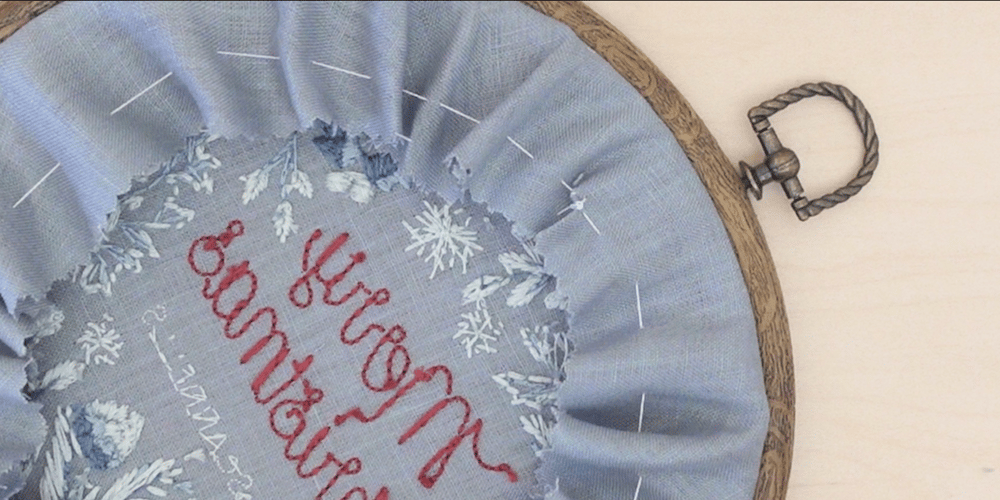
Thread your needle with at least two strands of thread, and gather the edges using a running stitch.
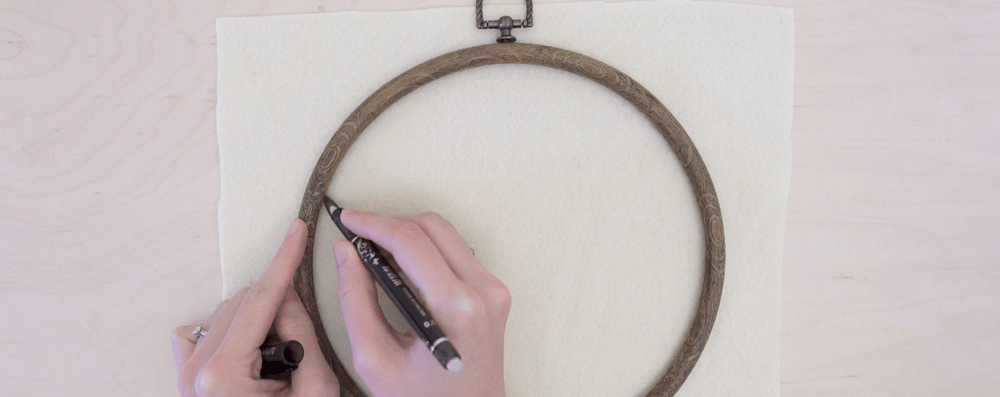
Next, using the outer hoop as a guide, trace the inner edge on a piece of thick felt fabric, then cut it out.
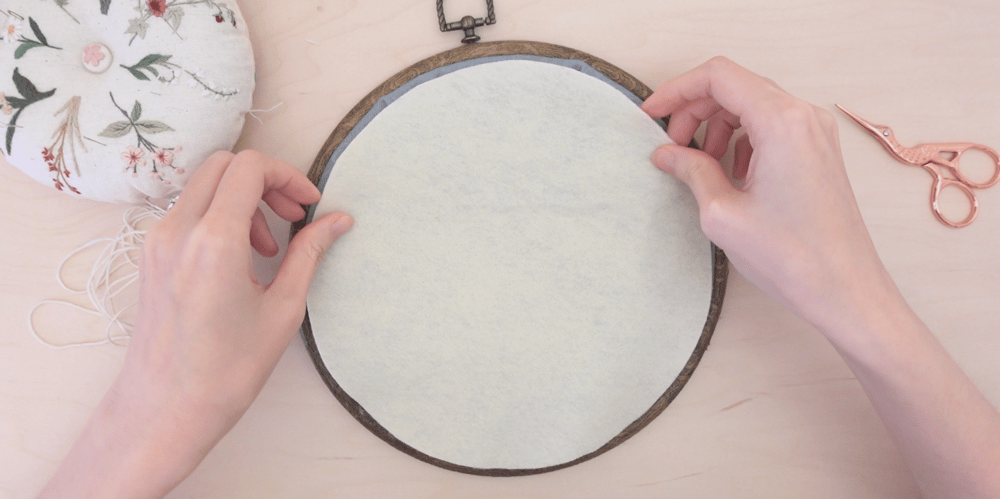
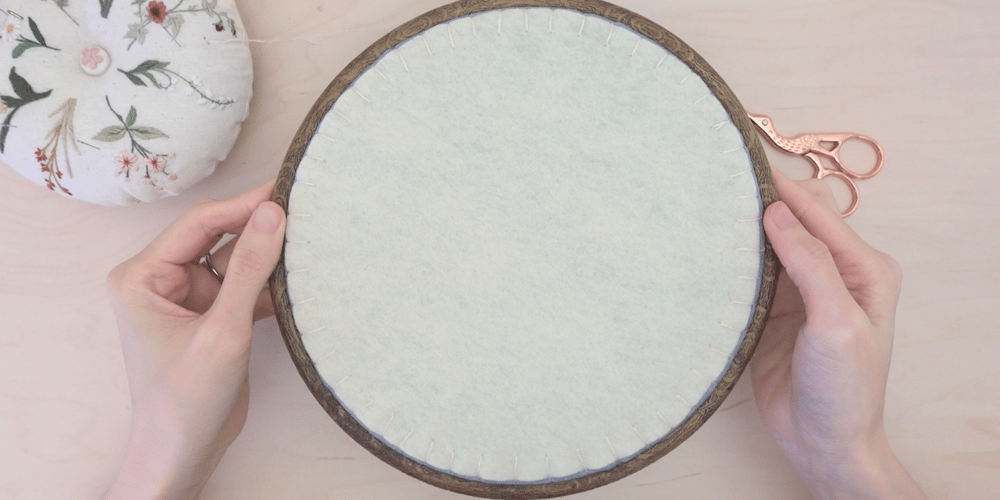
Place and align the felt circle on the back of the hoop.
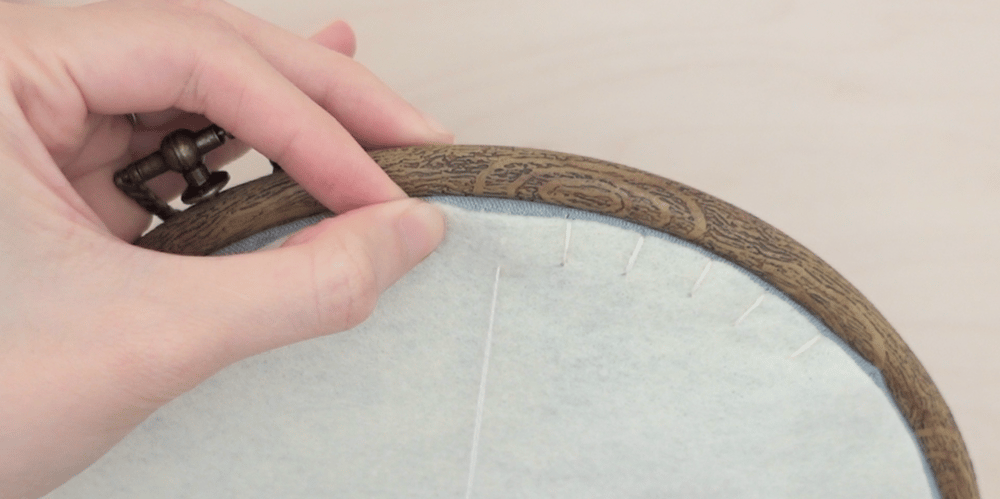
Thread your needle with at least two strands of thread, make a knot and hide it under the fabric. Then use a whip stitch to attach the felt to the fabric.
And voila!
For more detailed instruction, don't forget to watch the video below.
I hope you find this helpful and happy stitching!
Comments ()