

Disclosure: some of the links you'll find here are affiliate links. When you use them to grab some embroidery goodies, I may earn a teeny tiny commission at no extra thread to you.
When it comes to storing embroidery floss, many people bobbinate their floss, and some keep them as is. Here's how I did both.
Bobbinate
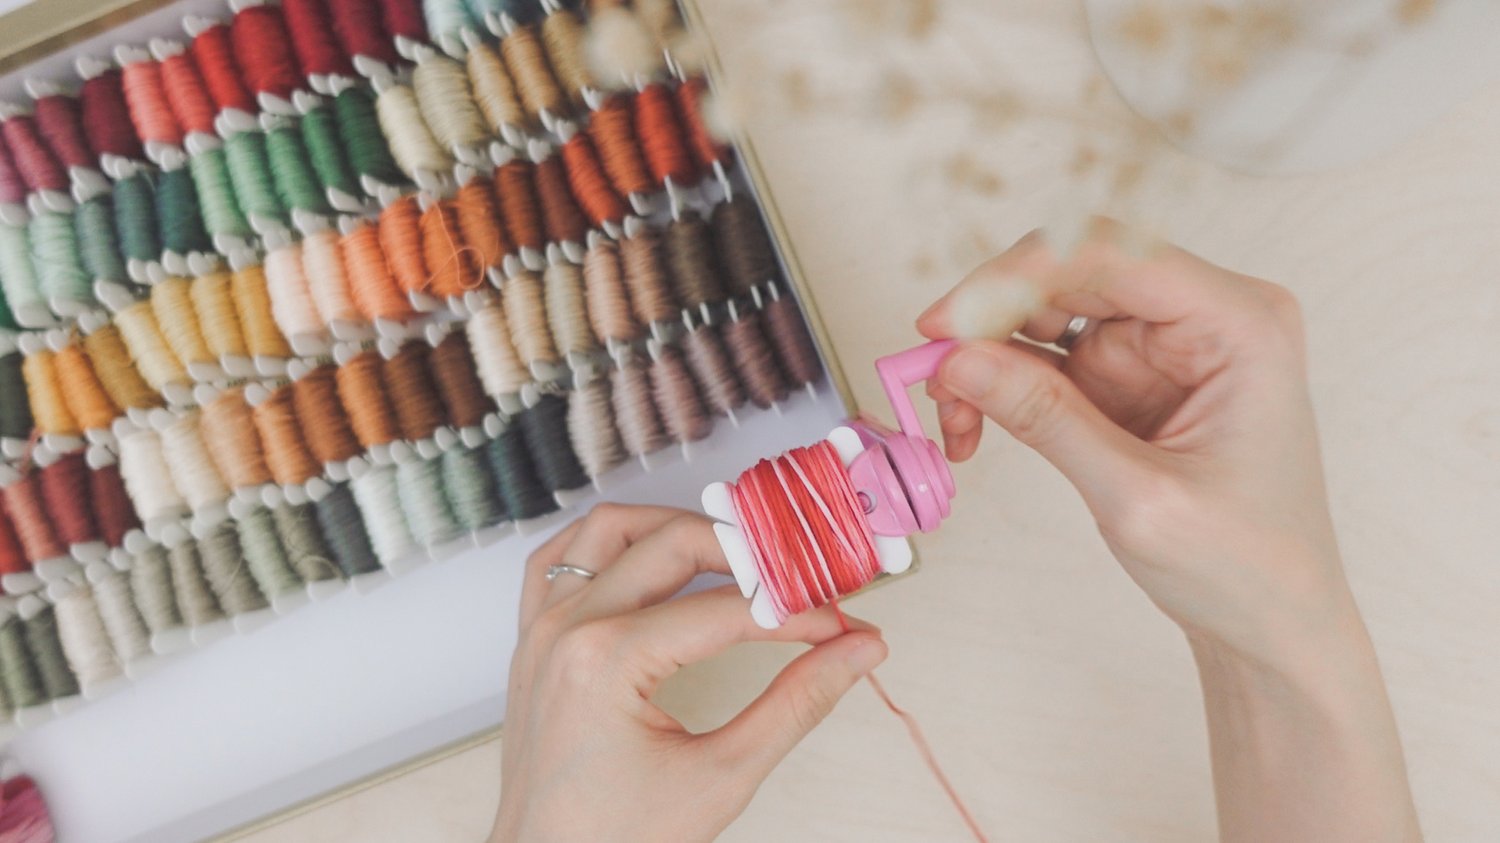
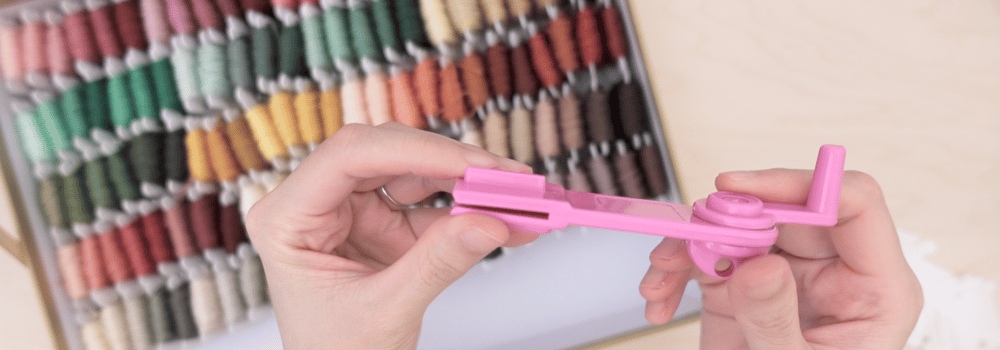
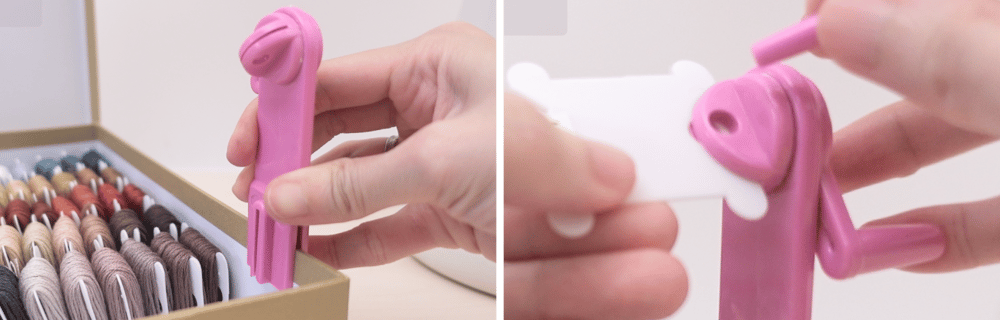
If you only have a few skeins to bobbinate, you can do it by hand, but if you have a lot of floss, it's a good idea to invest in a little tool like this to help speeding up the process.
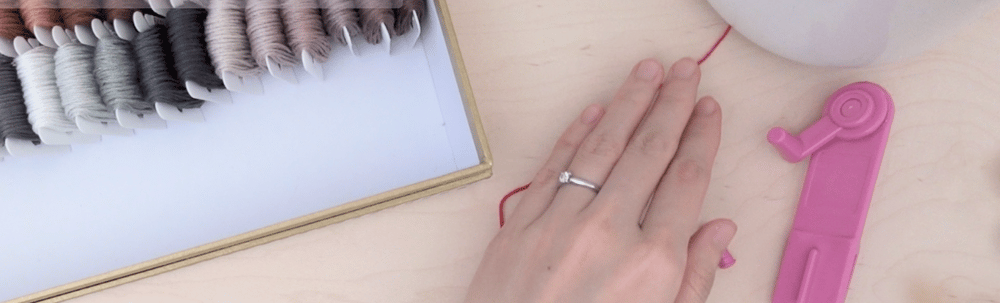
Start by removing the two labels from both ends and make sure to keep the colour codes' labels.
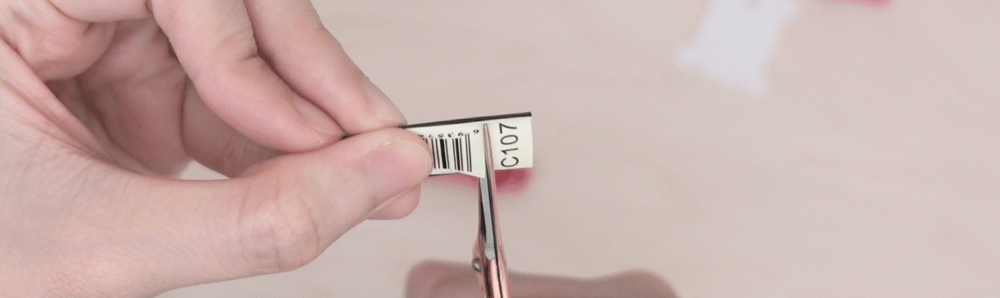
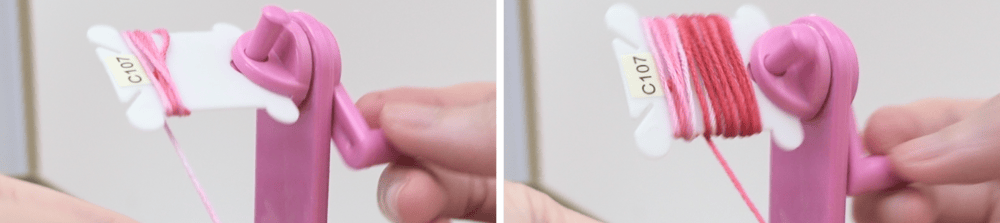
I often use a piece of clear tape to attach the code to the bobbin.

You can unravel the skein gradually while bobbinating or all the way to the end like me.
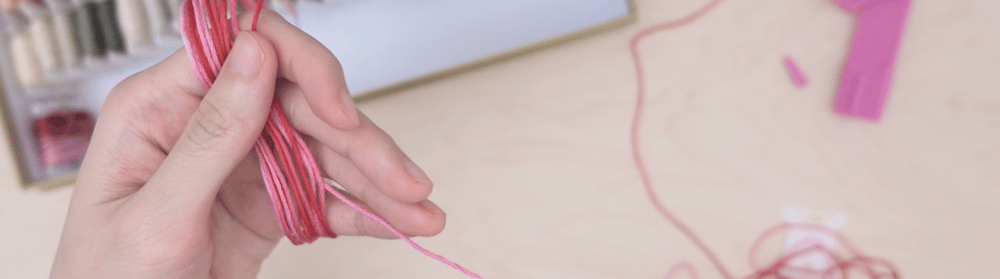
However, one end should be secured with something heavy, like this flower vase, so the thread doesn't tangle.
Find a nice sturdy edge to attach the tool. Then attach the bobbin to the tool.
Make a couple loops manually to keep thread in place, then turn the handle to start bobbinating. I find this process very relaxing to me.
You can store the thread, after bobbinating it, in any box with a lid to prevent dust from collecting. I am using a leftover chocolate box here.
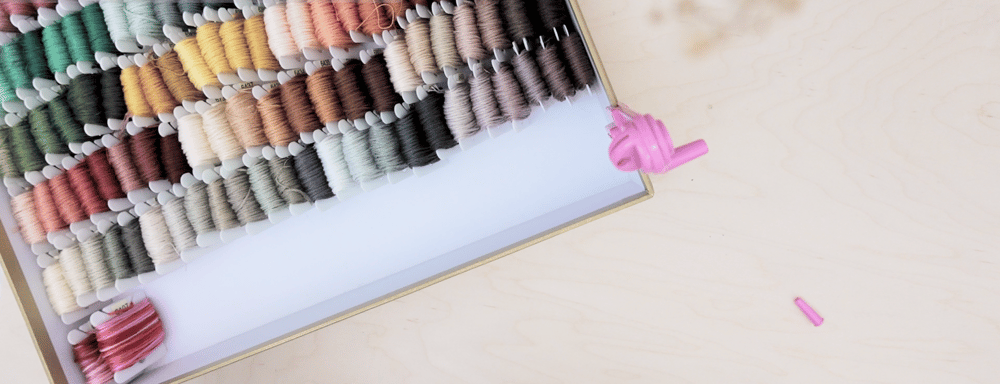
You can also use these craft storage boxes. Each box can hold at least 24 full skeins.
Store As Is
If you don't have the patience to bobbinate your thread, it's perfectly okay to store your floss the way it is
and pull out the end every time you need.
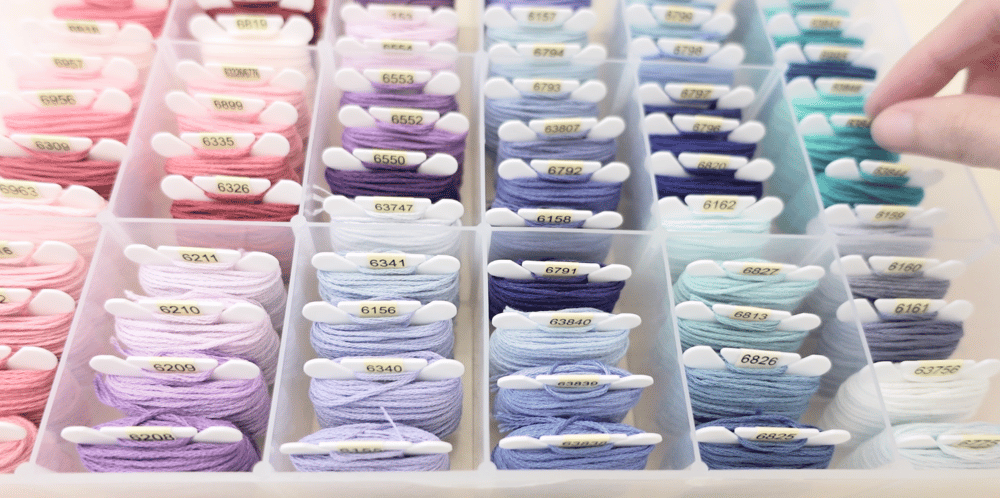
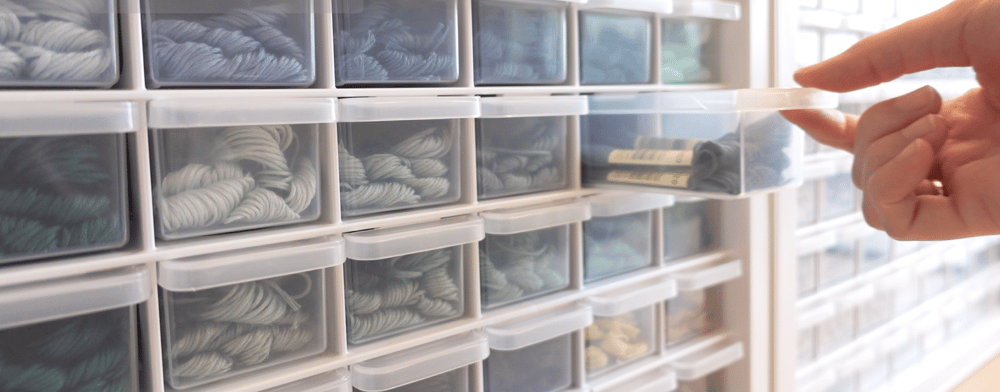
My skeins are often stored in transparent containers like these craft organizers.
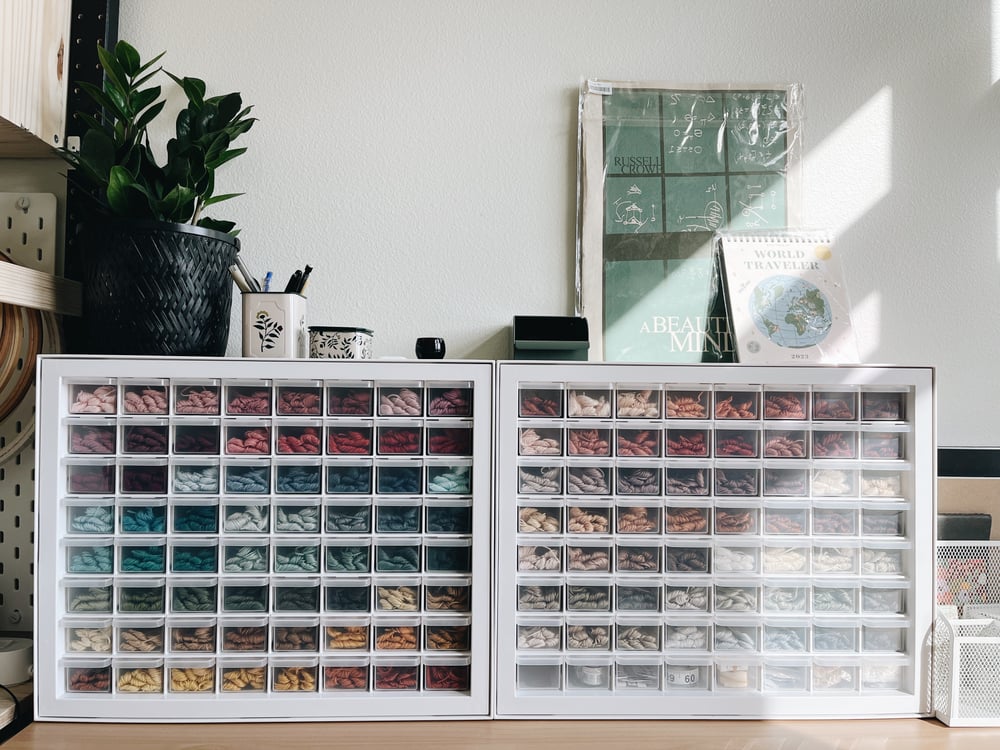
Each drawer can hold approximately 8-10 skeins.
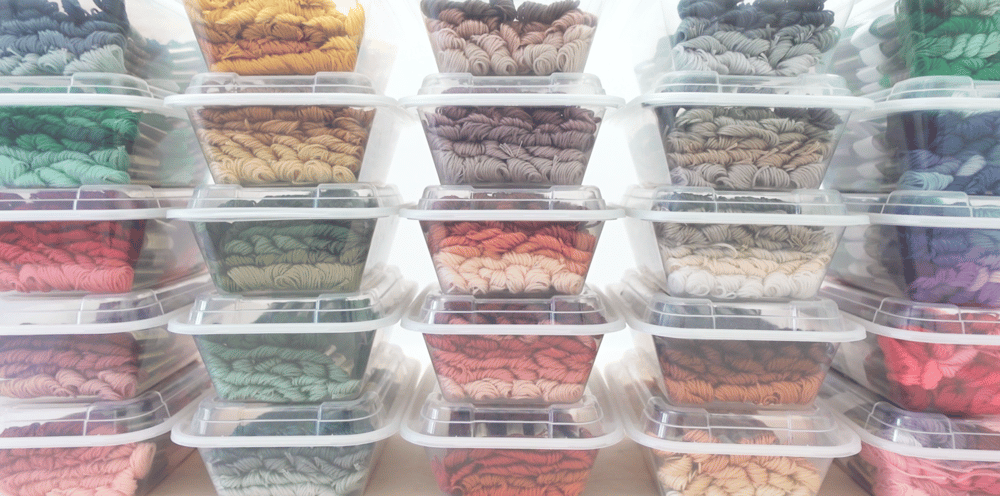
Additionally, I found these plastic lunch boxes that can hold many skeins. Because they are transparent, you can easily see what is inside, and they also make beautiful storage boxes.
Your floss should be organized and stored in a way that is most comfortable for you. Anything that keeps your floss from getting tangled, dust, and losing its color codes is perfect!
I hope you find this helpful and happy stitching!
Comments ()