

Each common embroidery floss can be split into six strands, allowing you to adjust the thread thickness to your liking or the patterns' instructions.
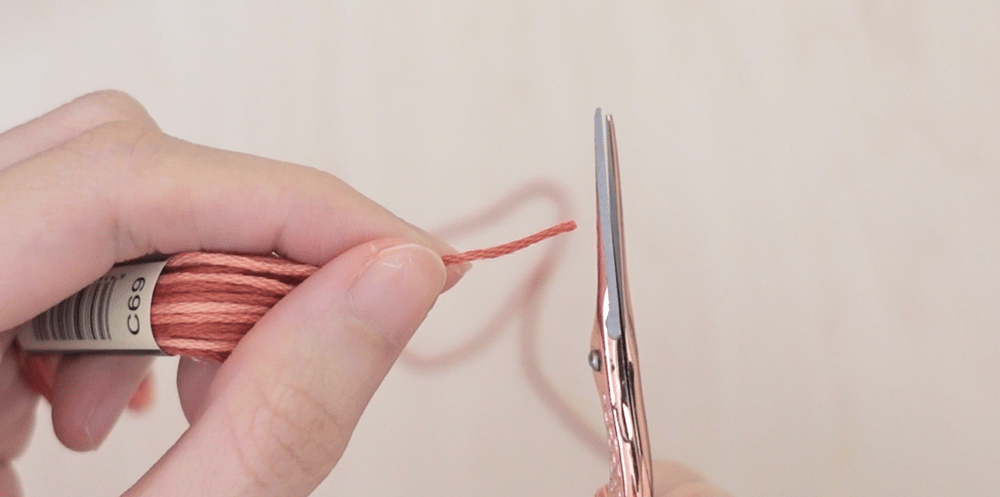
To begin, pull the thread out to your desired length. The typical length I like to work with is 10 - 15 inches. The longer the thread, the easier it is to get tangled.
To avoid tangle, you need to pull the correct end or 'tail', which is often located on the bottom part of the floss, near the colour code label.
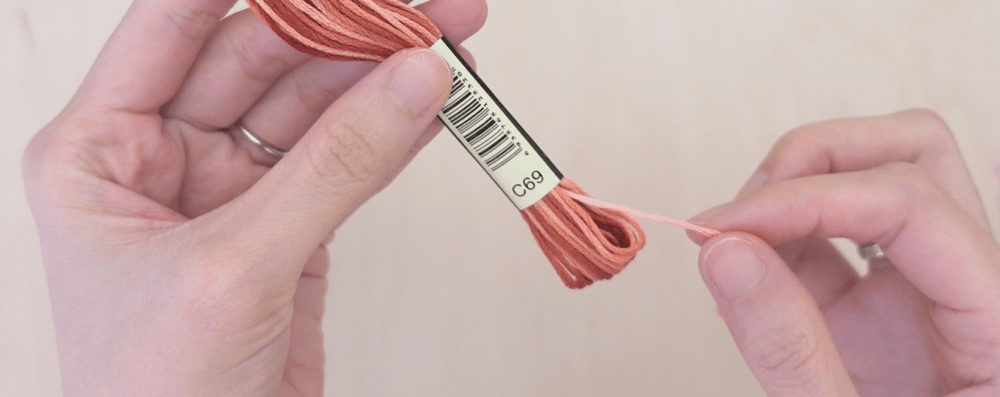
DMC floss is often like this, but if you use another brand and want to make sure, you can pull the tail slowly and see if it is coming from the outer loop. If this is the case, you can safely proceed.
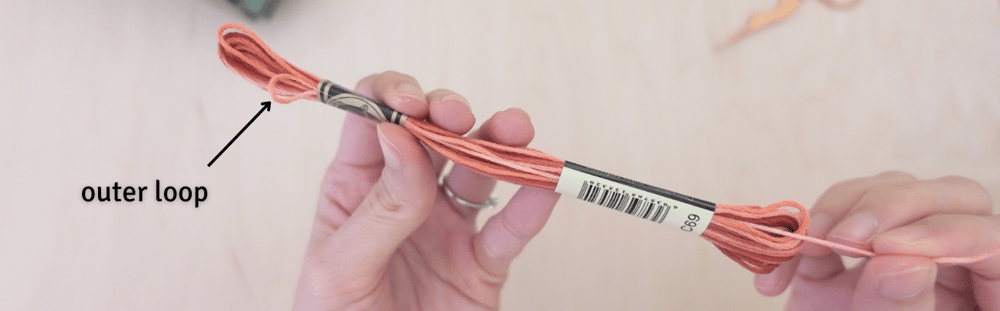
Abort the mission if you see it's coming from an inner loop, and try pulling the other end.
Cut the floss after you're satisfied with the length.
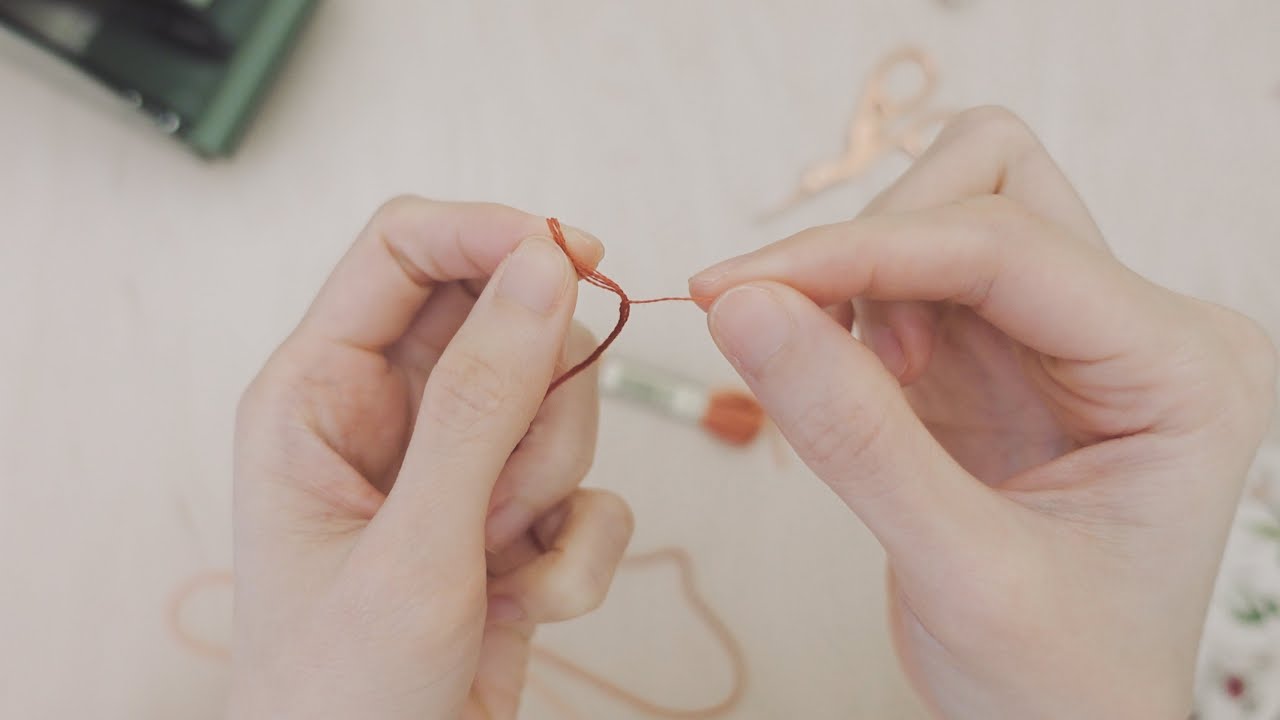
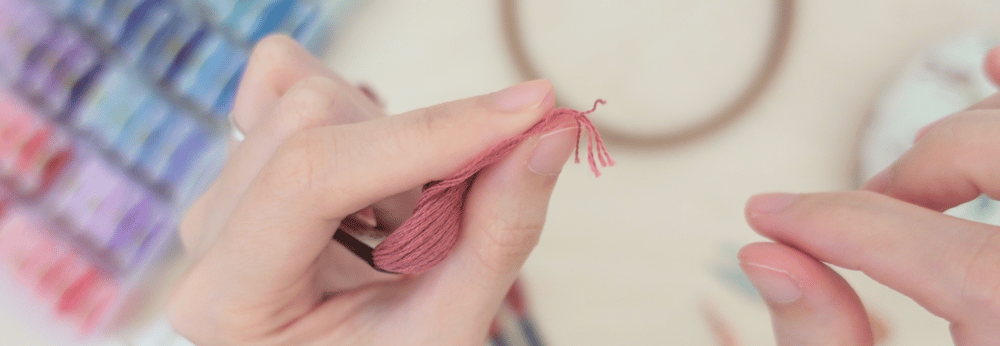
Separate one strand from the floss.
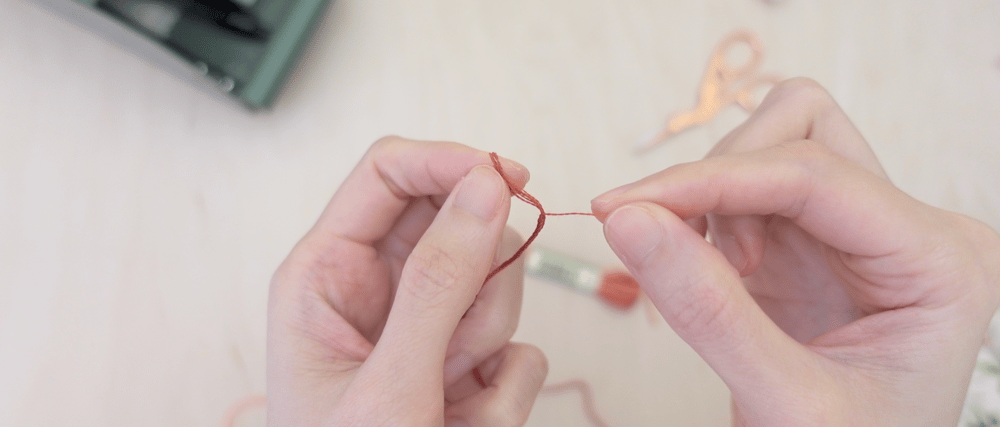
Holding the rest of the floss with your other hand and slowly pull the strand out.
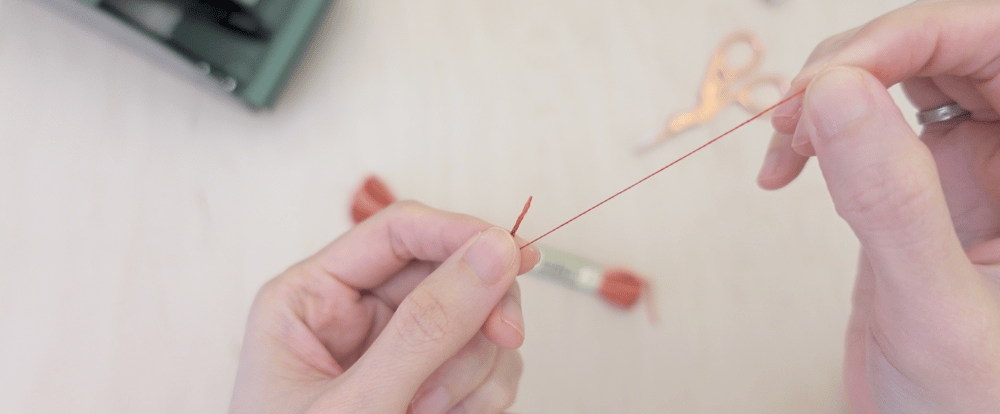
Repeat this step if you need more than one strand.
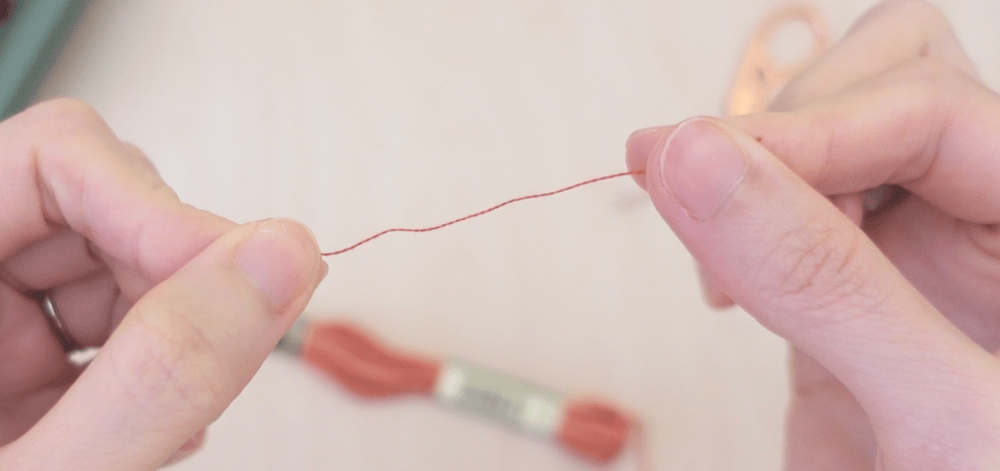
*Tip: Pull only one strand at a time to avoid tangling!
You can also watch the video guide below.
I hope you find this helpful and happy stitching!
Comments ()