

One common method to begin a thread is to make a knot. This works well for projects that don't require a neat back, such as framed projects.
However, I prefer the below alternative method because it's more secure and leaves a neater back, suitable for embroidering on wearable items.
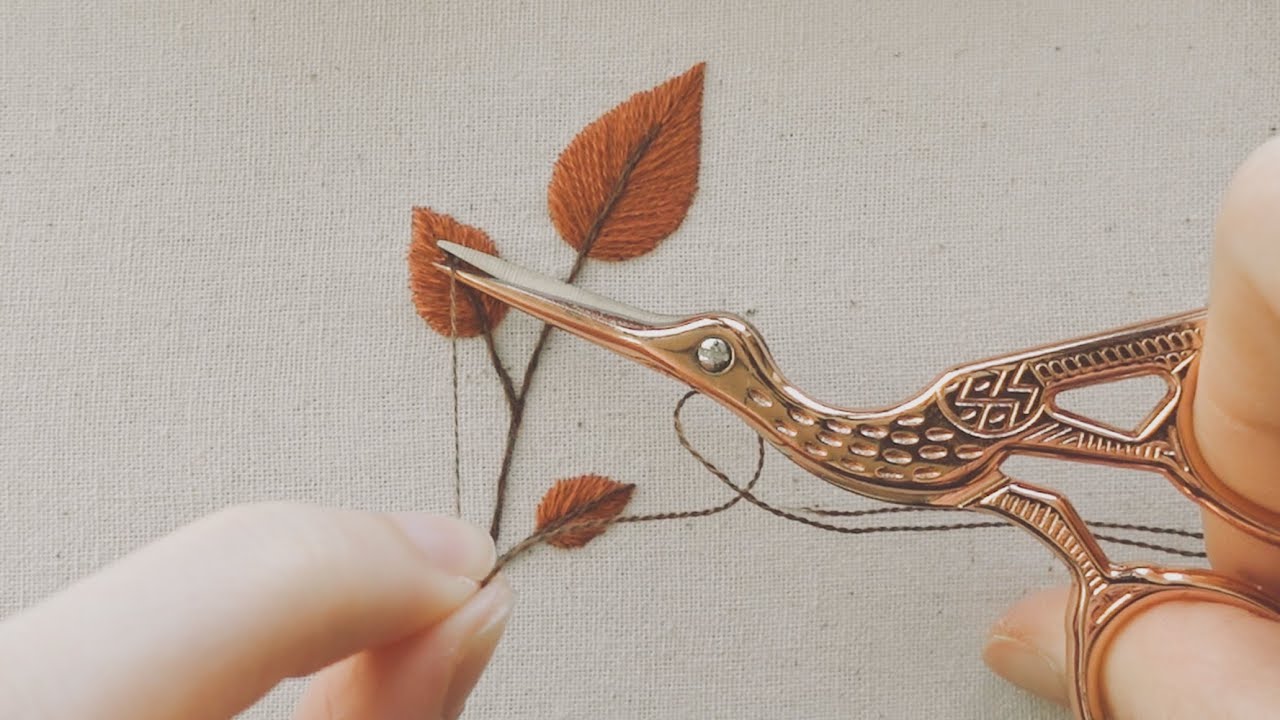
Start a Thread
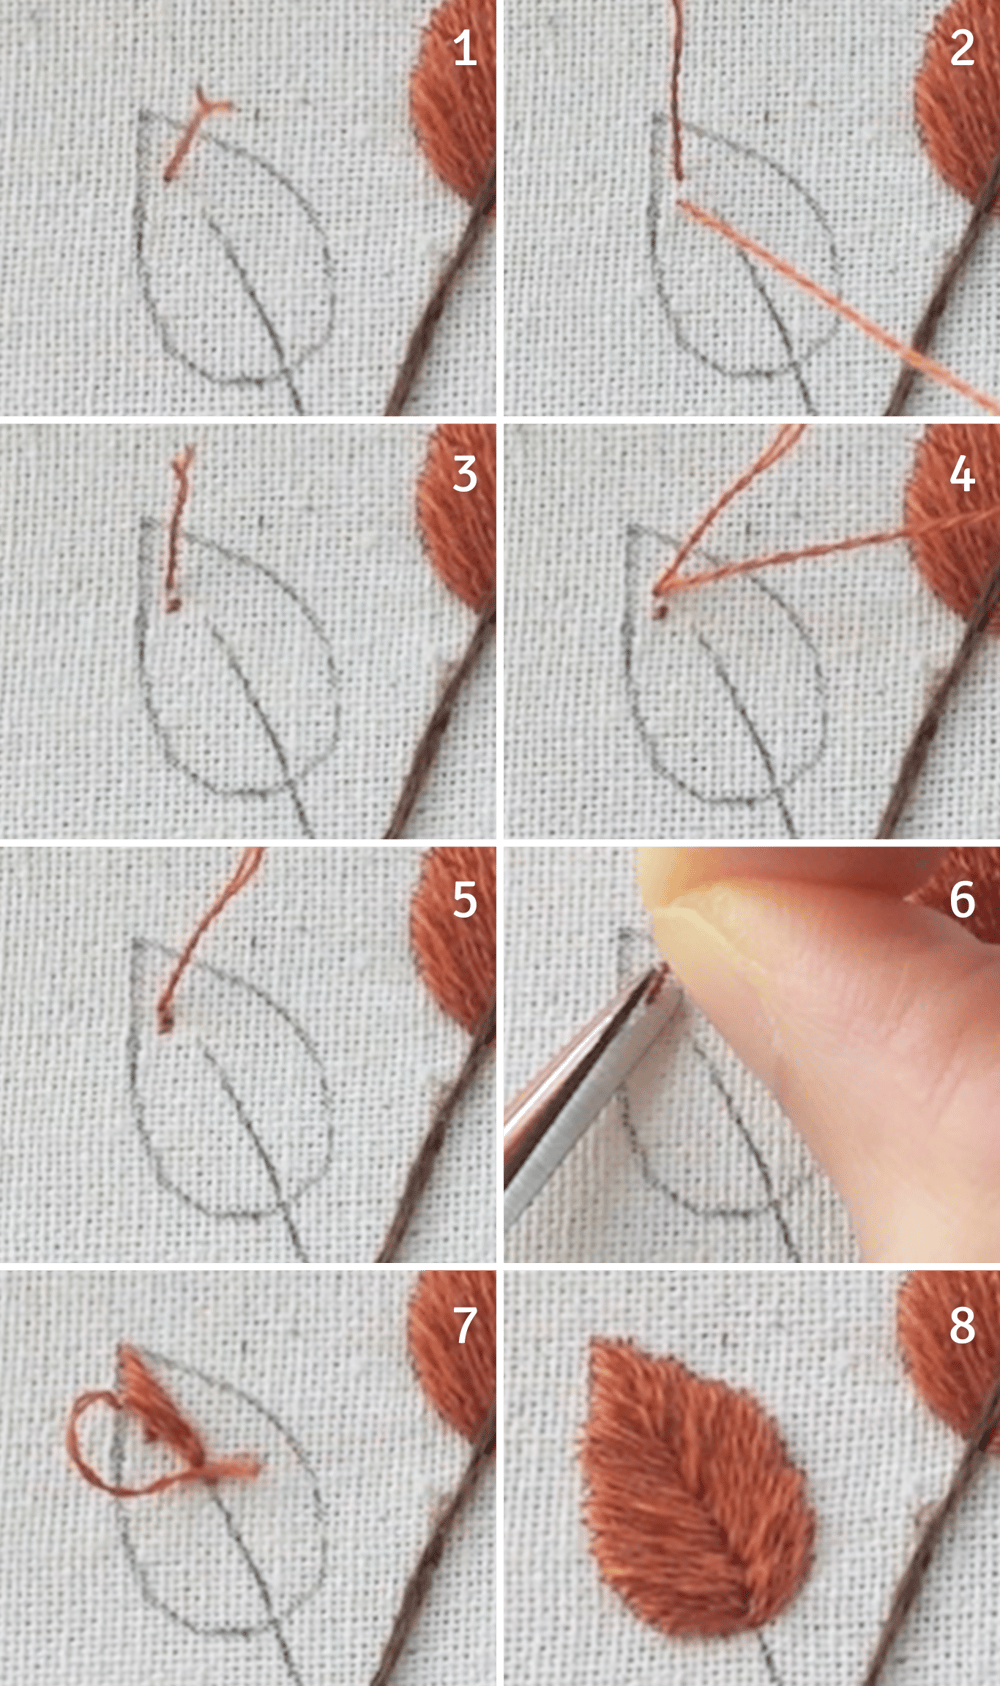
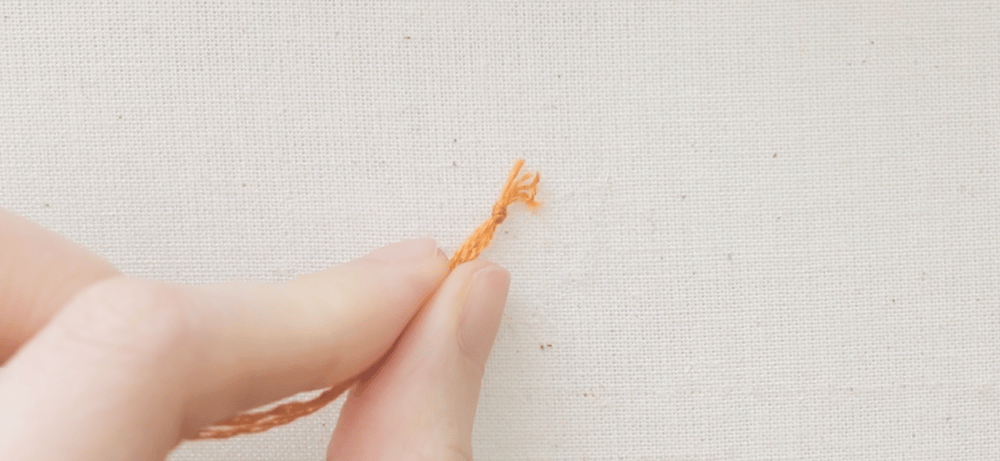
(1) Start at the front, bring your needle through the fabric and leave a small tail.
(2)+(3) Make a tiny stitch close by
(4)+(5) Make another stitch that starts where the tail is and ends at the first tiny stitch.
(6) Pull the thread firmly to make sure it's secure, then cut the tail close to the surface.
(7)+(8) Start stitching as usual and the starting stitches should be covered.
Tip: It's best to start a thread in an area that will be easy to cover later, like near the edges.
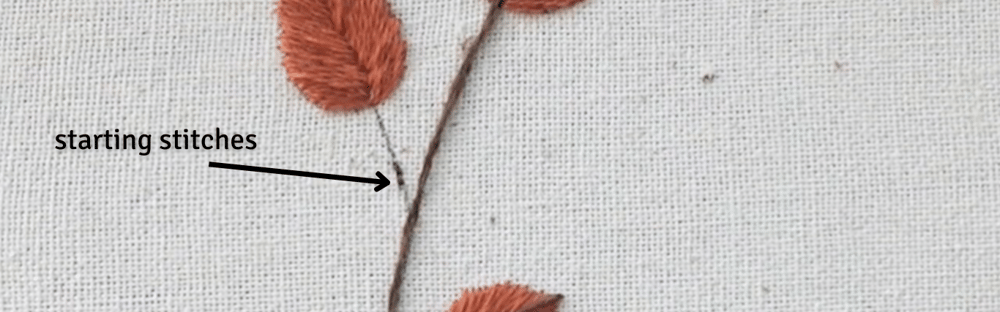
In a line design, you can start a thread a few millimetres away from the starting point. Then start stitching as usual, and the starting stitches will be covered.
End a Thread
To end the thread, make two tiny stitches in a nearby area that will be covered later. Trim the excess.
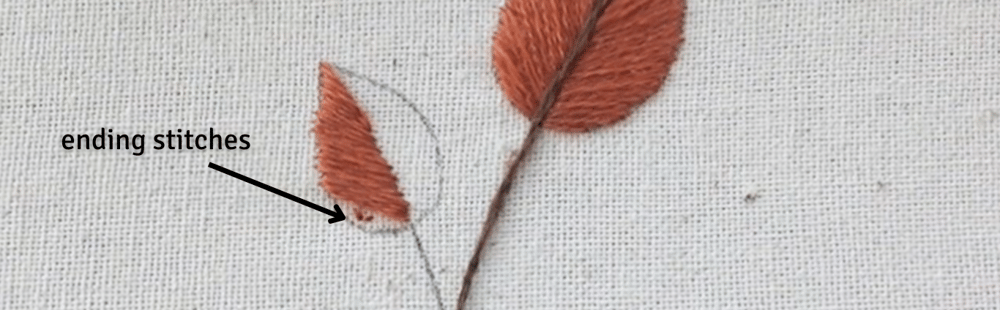
If there's no available space nearby, simply do the ending stitches in your current working area.

*Tip: do the ending stitches in the same direction as the stitches in the working area for easy blending.
This technique of starting and ending a thread is perfect for embroidering on clothing and items that require a neat back.
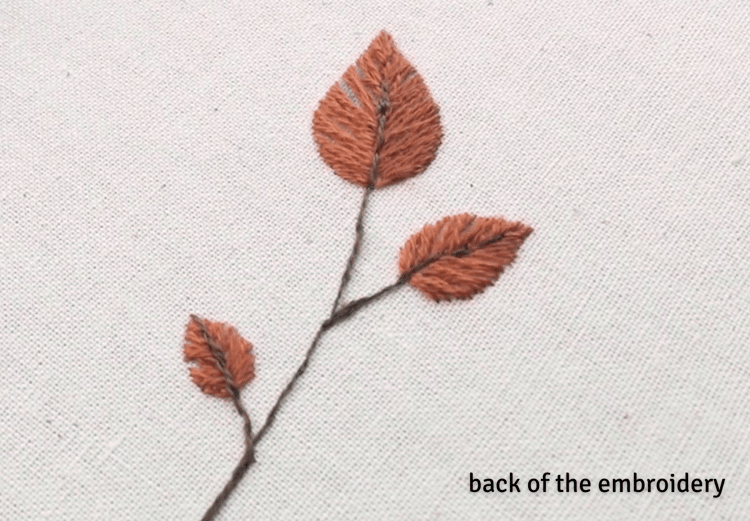
Plus, you won't ever need to flip and see the backside of your hoop!
I hope you find this helpful and happy stitching!
Comments ()