

Disclosure: some of the links you'll find here are affiliate links. When you use them to grab some embroidery goodies, I may earn a teeny tiny commission at no extra thread to you.
Drawing or transferring a design onto fabric can be done in many ways. Below are tools and methods that I use frequently.
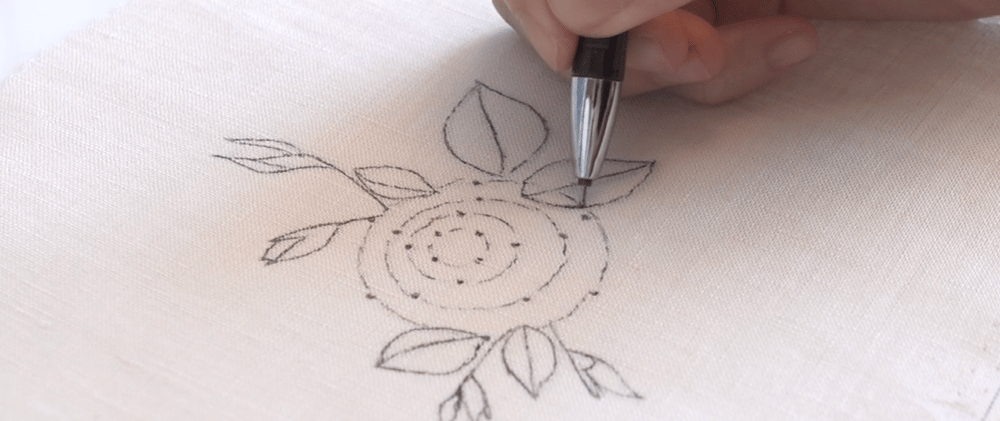
Heat eraser pens are my favourite for their forgiveness. The lines can be ironed off as soon as the design is complete, leaving no ink residue when washed.
Carbon transfer papers is another method, where dark papers are used for light fabrics and vice versa. Tip: you can make the lines bolder by adding an extra one or two layer of lightweight fabric beneath your main fabric white tracing.
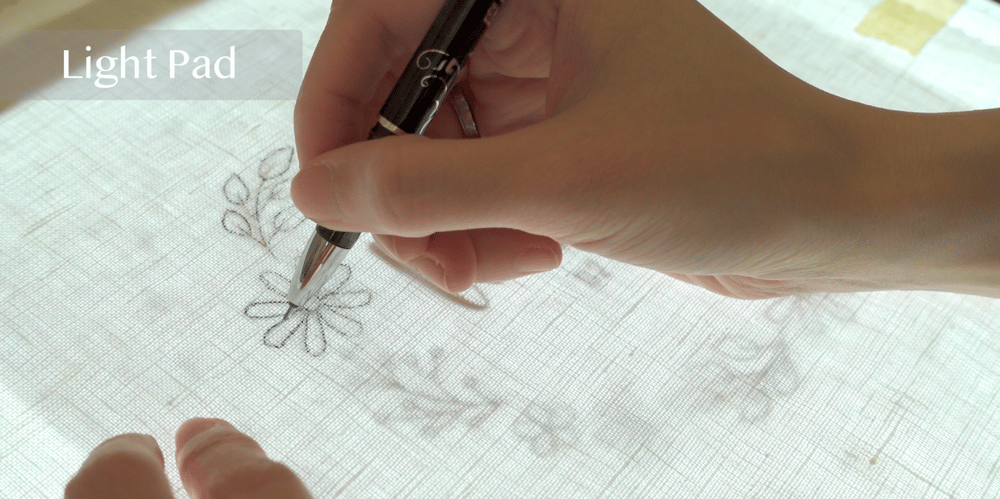
My most preferred method is actually to use a light pad along with heat-erasable pens. A reasonably priced light pad, like this A4-sized is perfect and fits any PDF pattern on my store.Tip: regardless of the method chosen, remember to secure the fabric and pattern with masking tape to avoid misaligned drawings.
Photo Fabric: this is a product that will work great with intricate patterns where it might be too time consuming to transfer all the details onto your fabric. Instead, you would print the designs directly from your computer onto this cotton paper. The catch? Your fabric's dimension is now limit to 8.5x11".
I hope you find this helpful and happy stitching!
Comments ()