

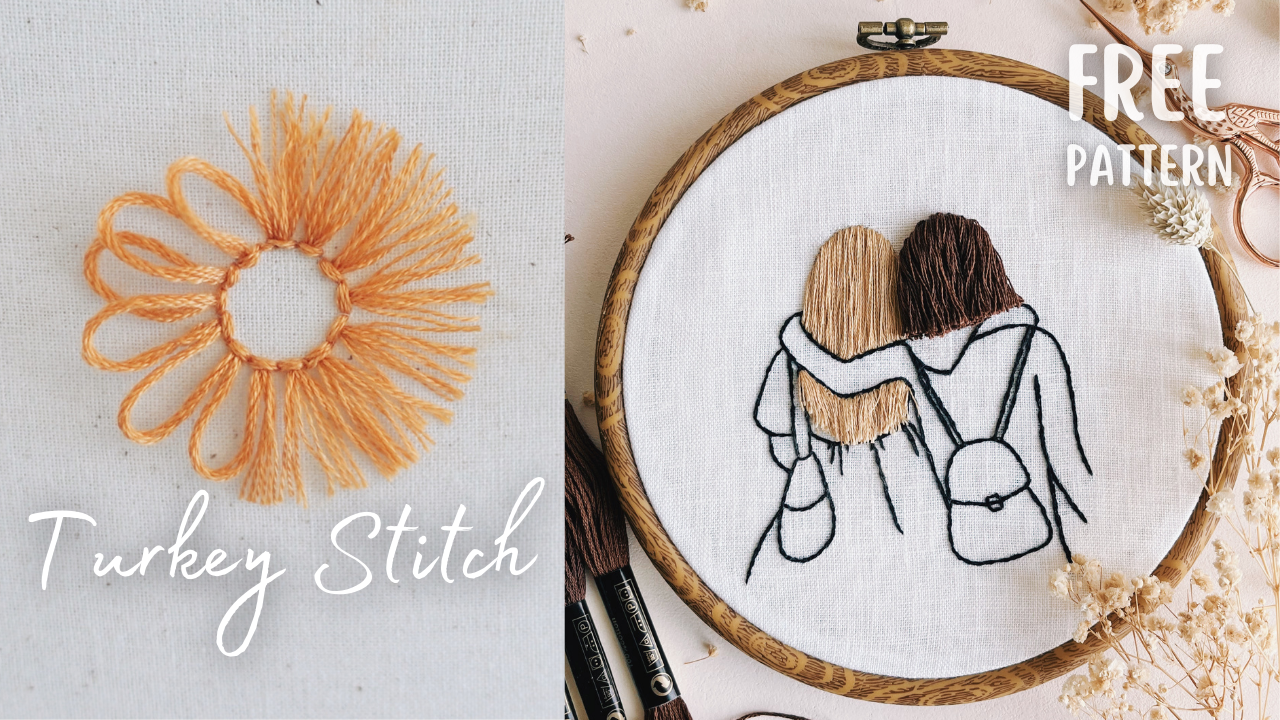
In today's lesson, we'll explore the interesting Turkey Stitch—a stitch with its origins in Turkey that's perfect for adding a lot of texture to your embroidery projects. Moreover, you can have two distinct looks with just one stitch!
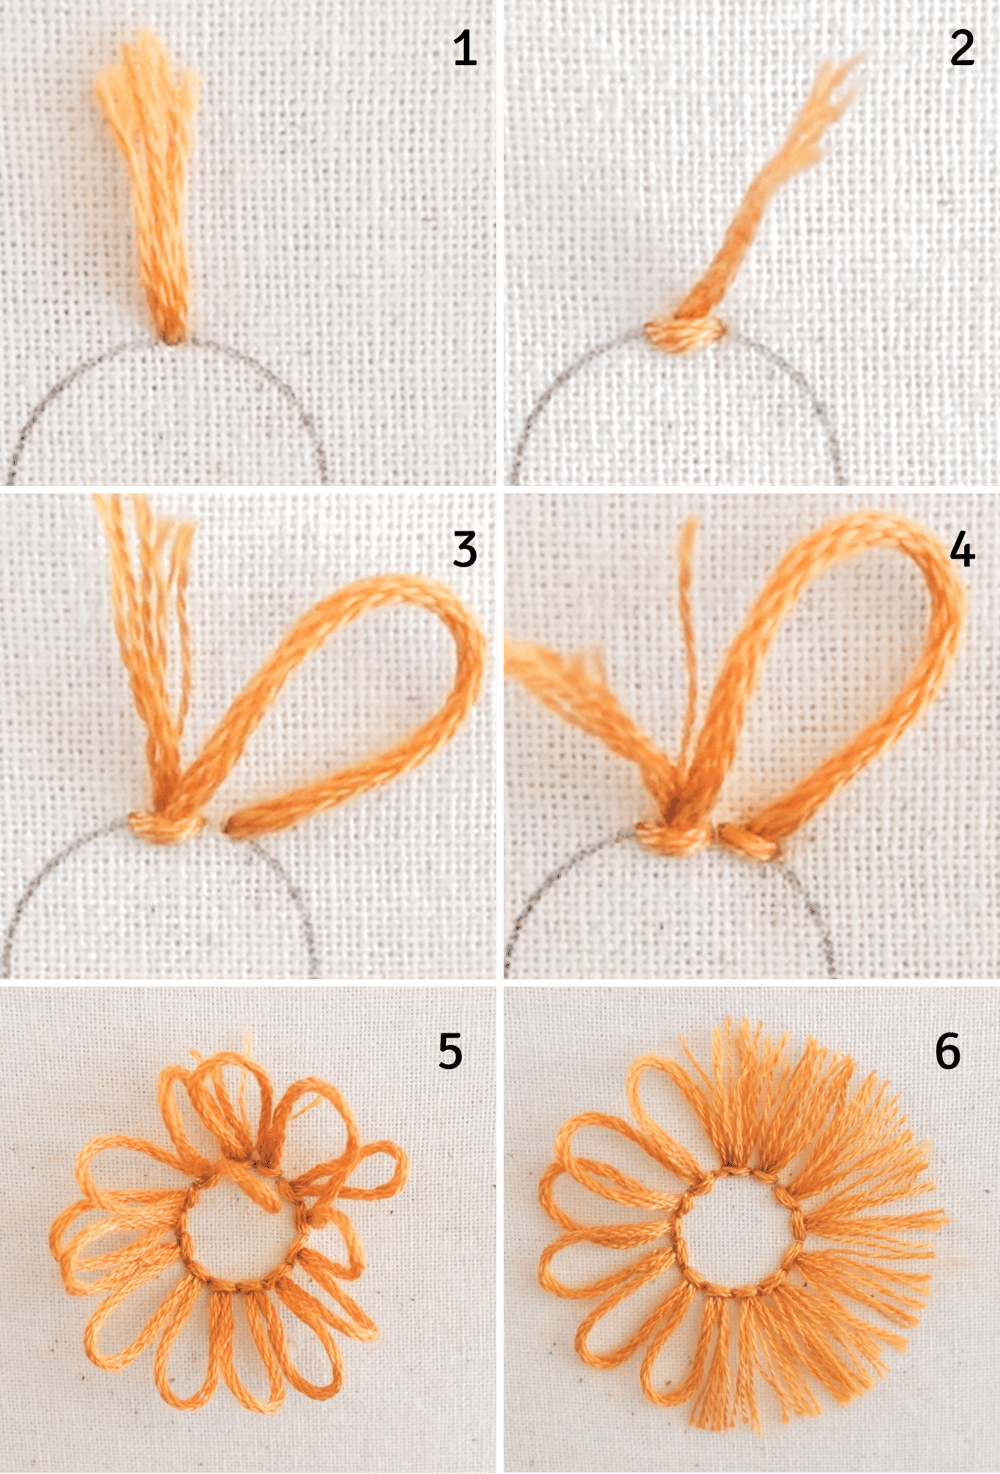
- Start by taking the needle down through the fabric, leaving a tail on the surface. No need to knot the end of the thread in this case.
- Bring the needle up from the back of the fabric and create a 'locking' stitch at the base of the tail to secure it. The tail should end up in the middle of the locking stitch.
- Bring the needle up again right where the tail is or very near it and take the needle down a stitch length, leaving a loop on the surface.
- Make another 'locking' stitch at the base, similar to the first one.
- Repeat this process until you reach the end of the line. You can leave the loops as they are, resembling flower petals.
- Or you can cut the loops with embroidery scissors to create a fluffy, fringed texture.
Practice Pattern
Download this free practice pattern here
Don't forget to watch the YouTube video for step-by-step guide to stitch this pattern.
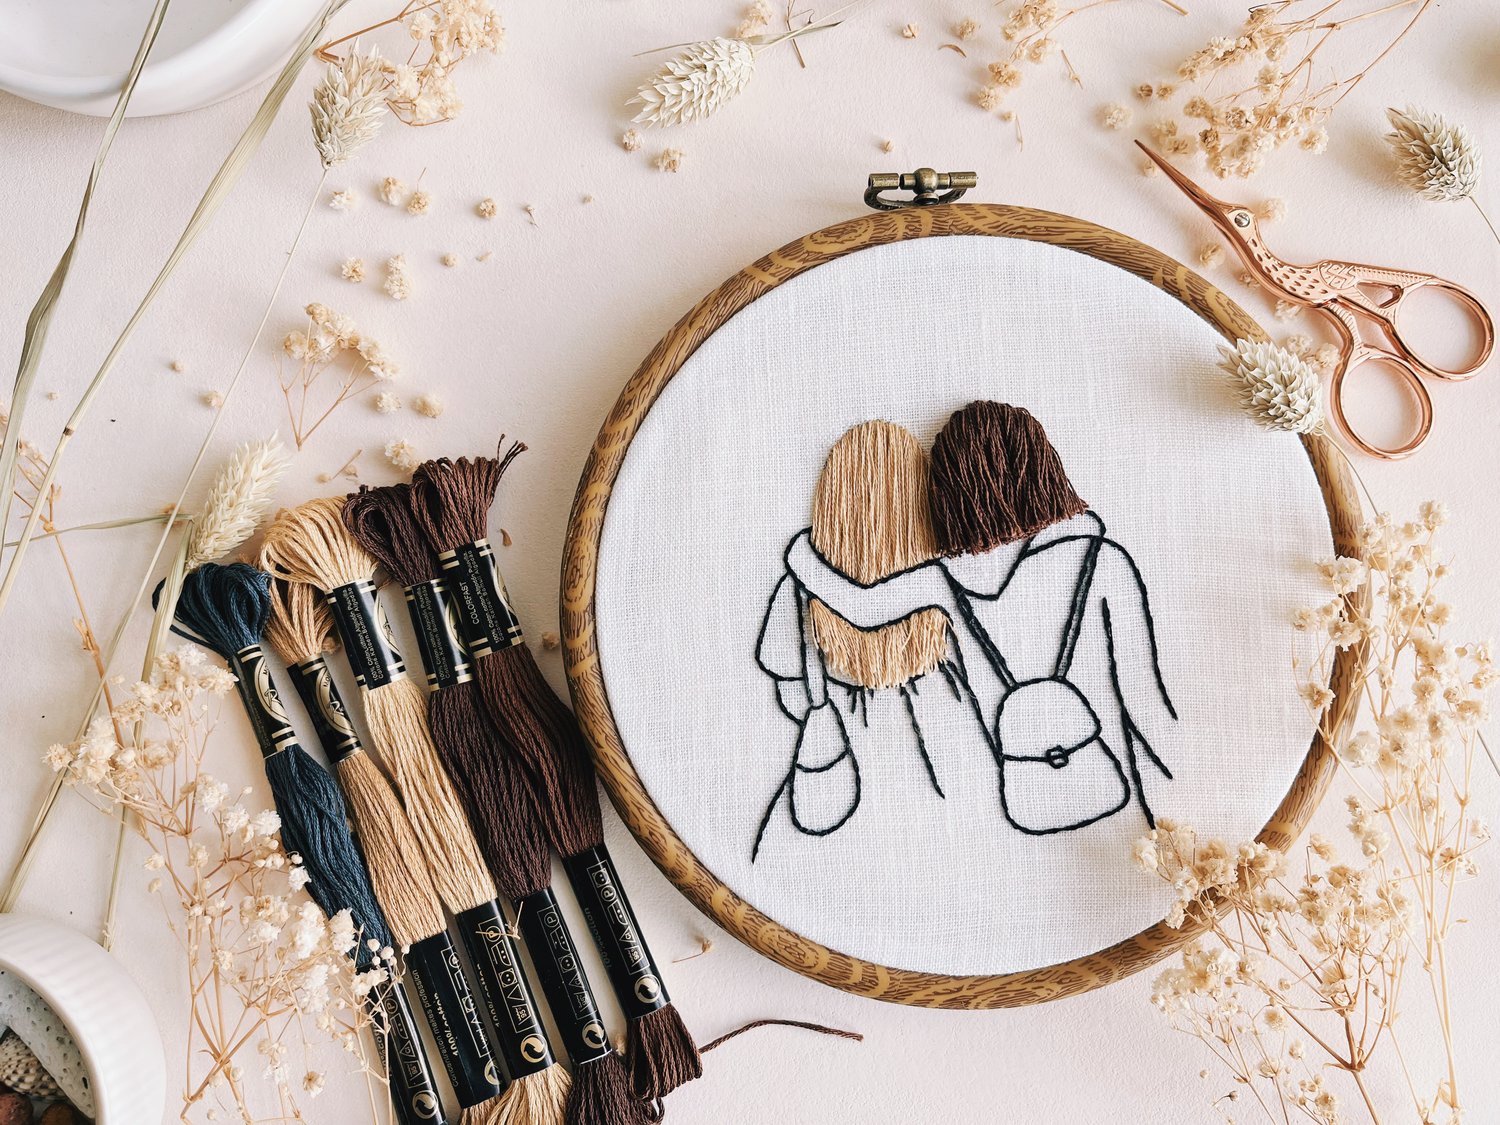
Since the Turkey Stitch is perfect to create so many gorgeous hairstyle, I decided to apply it for this fun pattern. After creating all the loops comes the fun part: trimming the hair to your desired style! 💇♀️

It's such a fun but also nerve-wracking experience for me because I feel like I'm cutting someone's real hair 😅
Once you learned this stitch, it's really opening so many opportunities to add texture to your work, from flowers, to fringe, and hairstyles.
I hope you have fun and happy hairstyling!
Comments ()