

Disclosure: some of the links you'll find here are affiliate links. When you use them to grab some embroidery goodies, I may earn a teeny tiny commission at no extra thread to you.
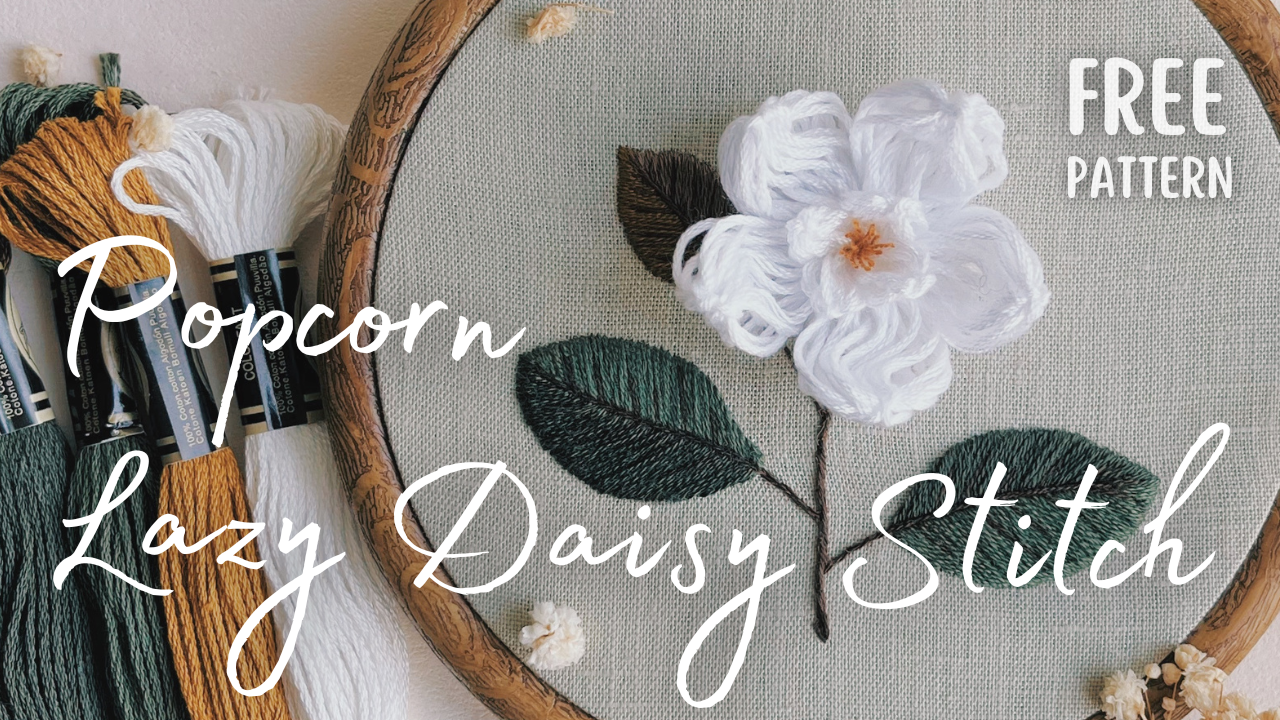
Welcome back for another tutorial from our Hand Embroidery Stitches series. Today we will explore another fun stitch that is perfect to create beautiful free-standing petals, the Popcorn Lazy Daisy stitch. While this is not necessarily a beginner stitch (even frustrating sometimes), I think this stitch deserves a spotlight because the results are often well worth it.
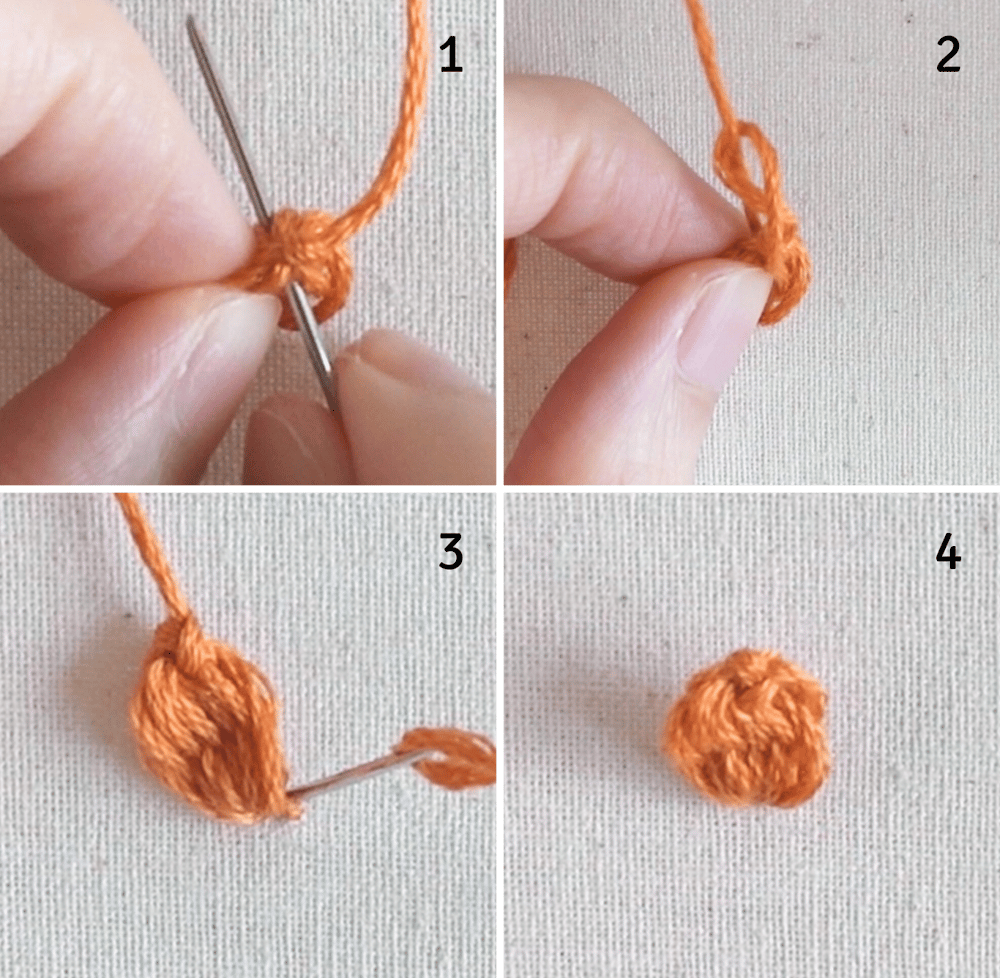
Tips: I'm using a blunt needle to avoid catching the thread during the process. For highly texturized stitches where 6 strands of thread are used, blunt needles are often a good alternative to the usual sharp embroidery needles.

(1) To begin, bring the needle up through the back of the fabric and take it down horizontally across from the start point but don't pull the thread all the way yet, leaving a small loop.
(2) Bring the needle up again inside the loop, somewhere near the starting point.
(3) Pull the thread all the way to tighten the loop but not too tight.
(4) Slide the needle through the straight stitch to form a loop, remember to place the needle in front of the working thread.
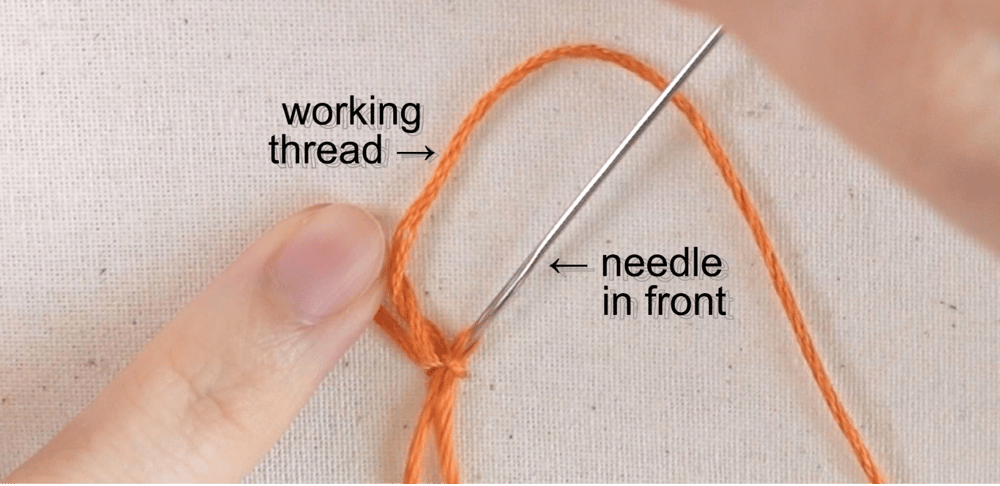
Needle should be in front of the working thread.
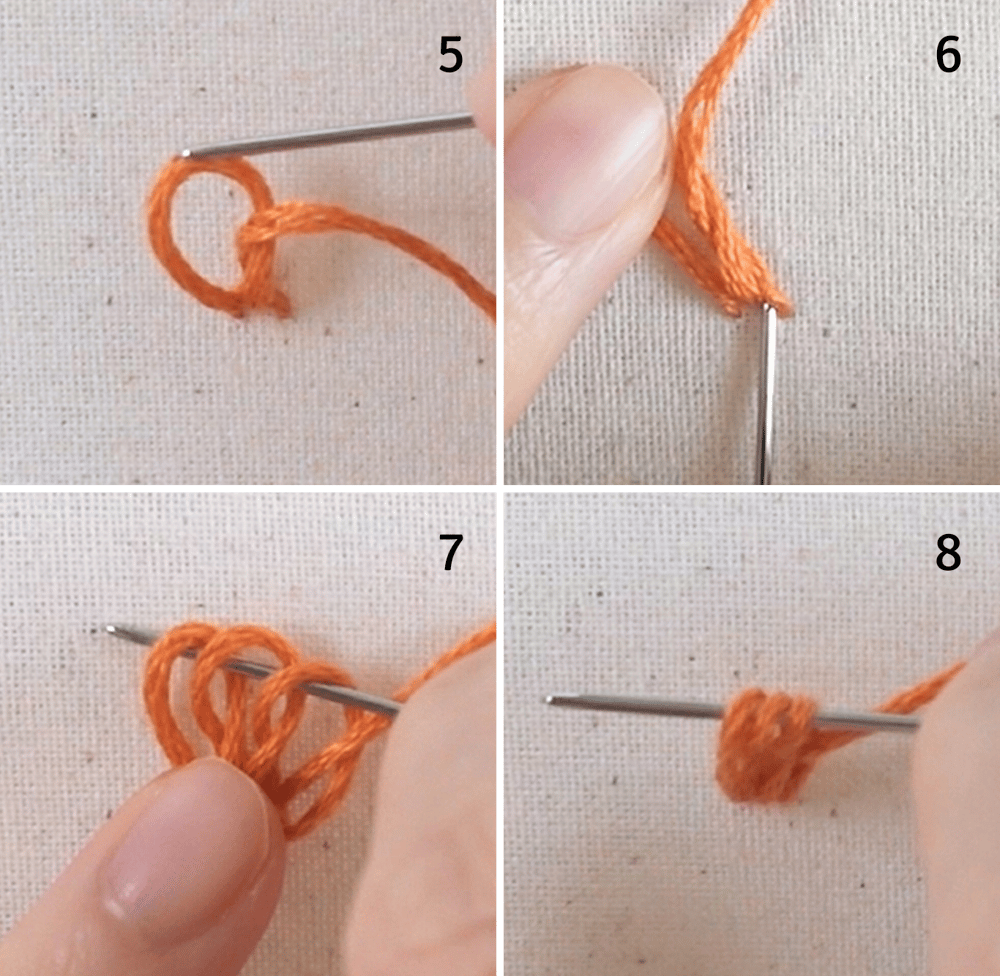
(5) Stop pulling the thread until you’re happy with the size of the loop. The height of the loop should be approximately the height of the petal, around ½ inch or 1cm in this case.
(6) Repeat the same process to create more loops. You can make as many loops as you want. I made three loops here. The more loops the wider the stitch/petal will be.
(7) Once you’re happy with the look, it’s time to secure them at the top with a knot. To do this, carefully slide the needle through all the loops
(8) and gently lift them up and the center.
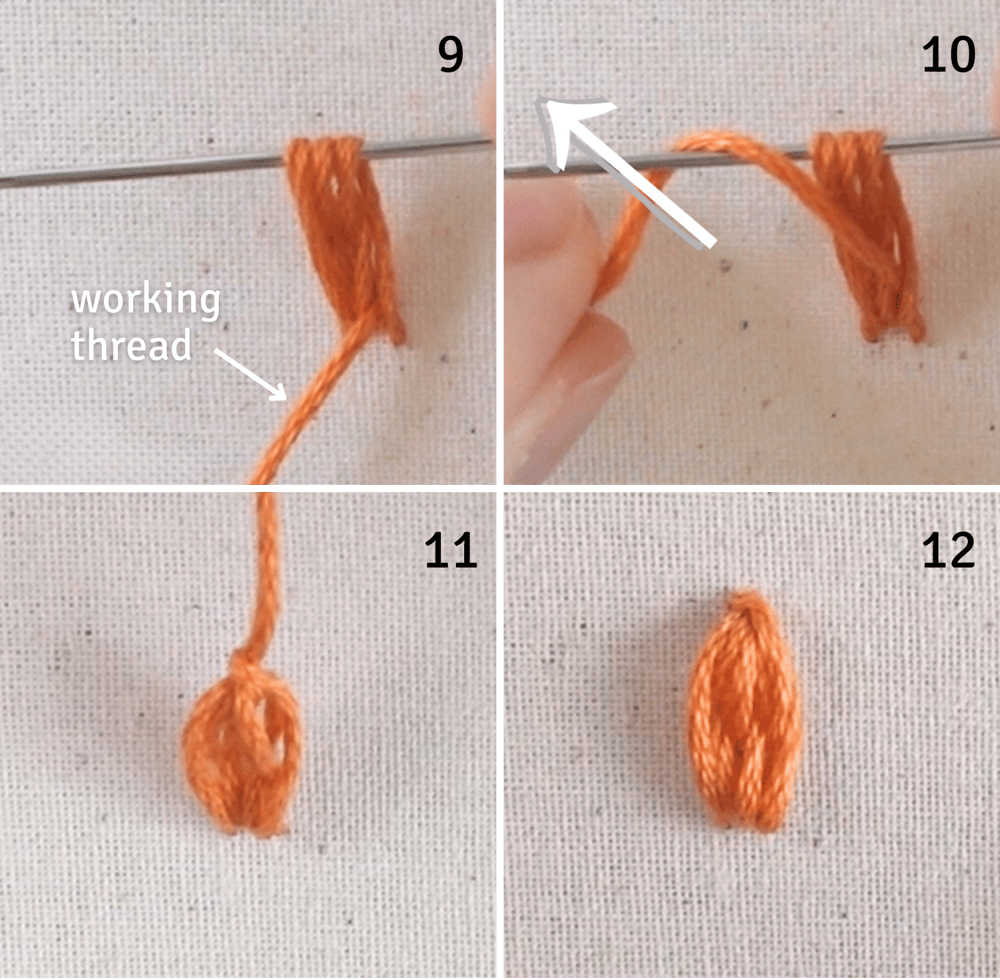
(9) Lift the working thread up
(10) Wrap it over the needle, away from you.
(11) Slowly pull the needle all the way through to form a knot. Make sure to adjust the knot so that it sits at the center of the loops.
(12) Lay the petal down on the fabric and secure it by taking the needle down at the top of the petal. Congratulations, you've completed your petal!
Variations
If you want your petal to sit off the fabric surface freely:
(1) After making a knot on top of the loops as usual, slide the needle through the tip of the petal and make another small loop for extra security.
(2) Tighten the loop firmly.
(3) Take the needle down at the base of the petal, preferably at the back so we can hide this stitch easily.
(4) Make a small stitch over the straight stitch at the base to secure it.
And there you go. A free-standing petal!
Practice Pattern
Download this free practice pattern here
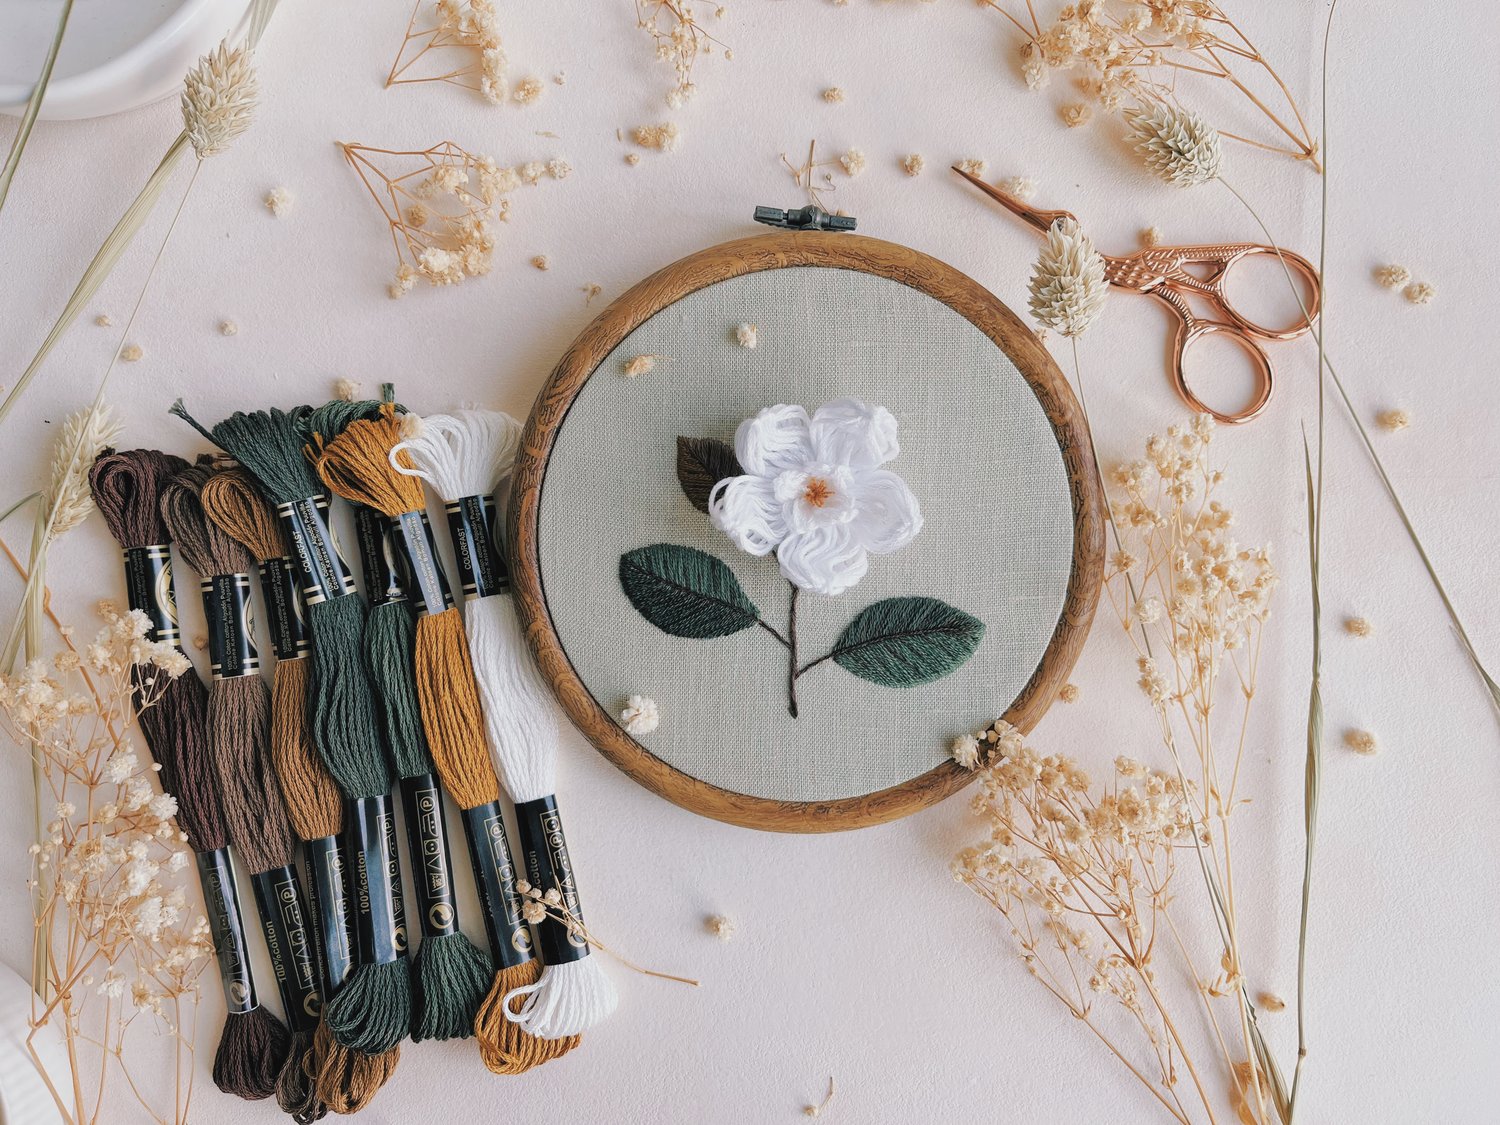
For this beautiful magnolia, I stitched two rounds of petals: five petals for the outer layer, and four petals for the inner layer.
Don't forget to watch the YouTube video for step-by-step guide to stitch this pattern.

Although the Popcorn Lazy Daisy Stitch might not be beginner friendly, and can get really frustrating at times, I hope by practicing with this pattern, you will soon get the hang of it. A bit of challenge is always a good thing, plus the results will be so worth it!
I hope you have fun and happy stitching!
Comments ()