

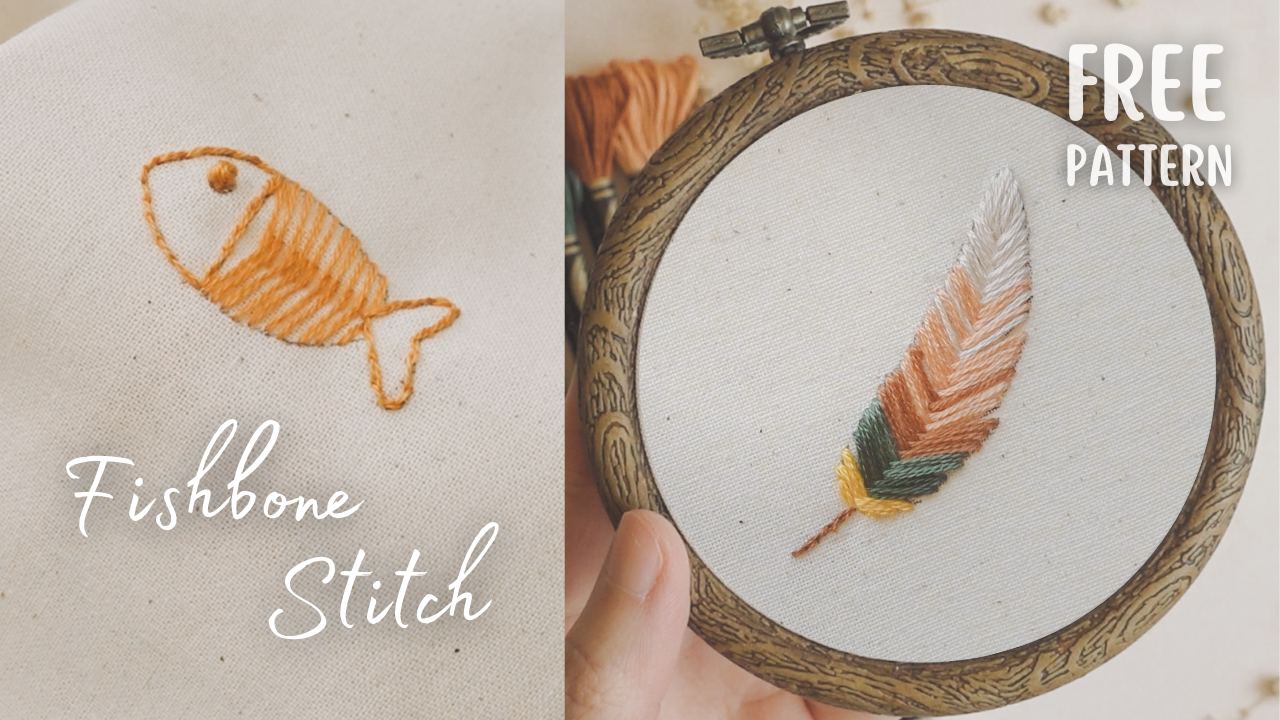
In today's lesson, we're discover an exciting stitch that might not be in the spotlight as much – the Fishbone stitch and its variation, the Open Fishbone stitch. This versatile filling stitch is a favorite for creating charming leaves and feathers.
Fishbone Stitch
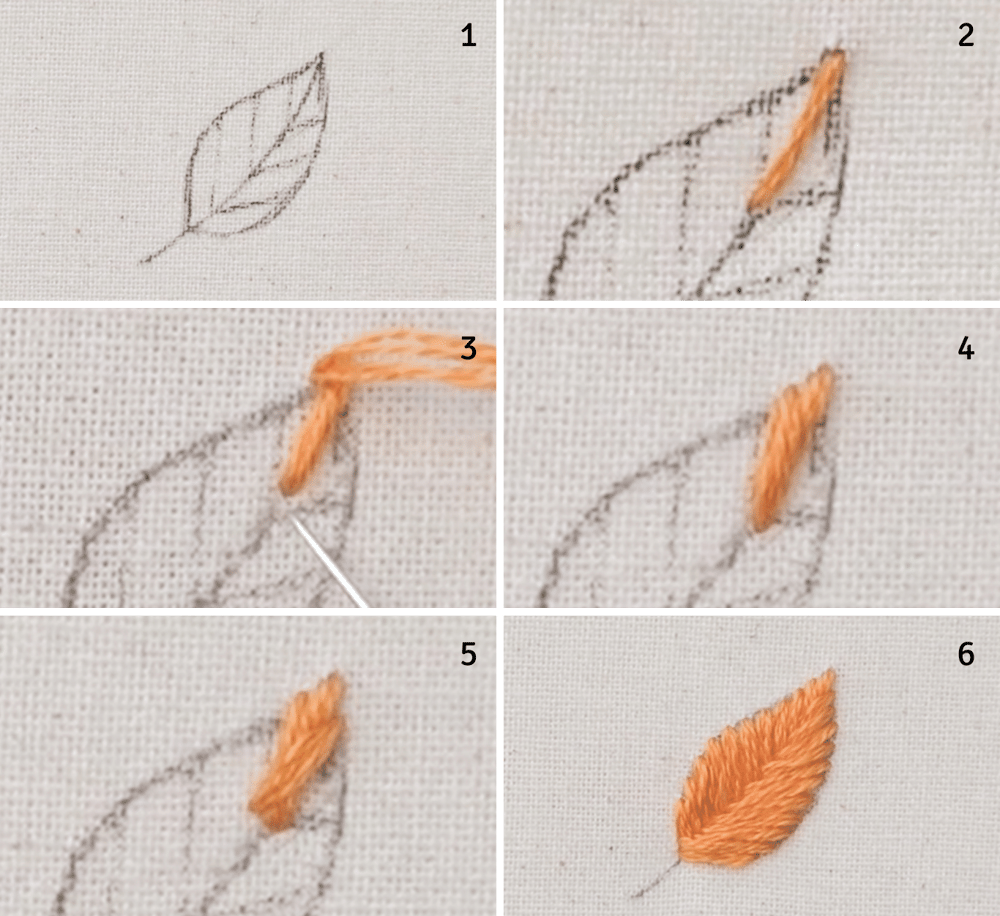
(1) To begin, you should draw the centerline of the leaf and then decide the angle of the stitches, which should follow the shape of the leaf (you can use a heat eraser pen to mark some guidelines.)
(2) Creating a straight stitch from the top down. This initial stitch will not only help determine the angle of the satin stitch but also give the leaf a more pointed tip. We'll work on both sides of the leaf at the same time.
(3) Bringing the needle up on one side of the leaf, very close to the start of the first stitch. Then take it down diagonally to the other side the centerline, not on it – very close to the end of the first stitch.
(4) Pull the thread all the way.
(5) Next, bring the needle up on the other side of the leaf, creating another diagonal stitch that overlaps with the previous stitch at the centerline. This overlap is the key difference between the Leaf stitch and the Fishbone stitch.
(6) Repeat this process until you complete the leaf, adjusting the angle of your stitches as needed to follow its curve.
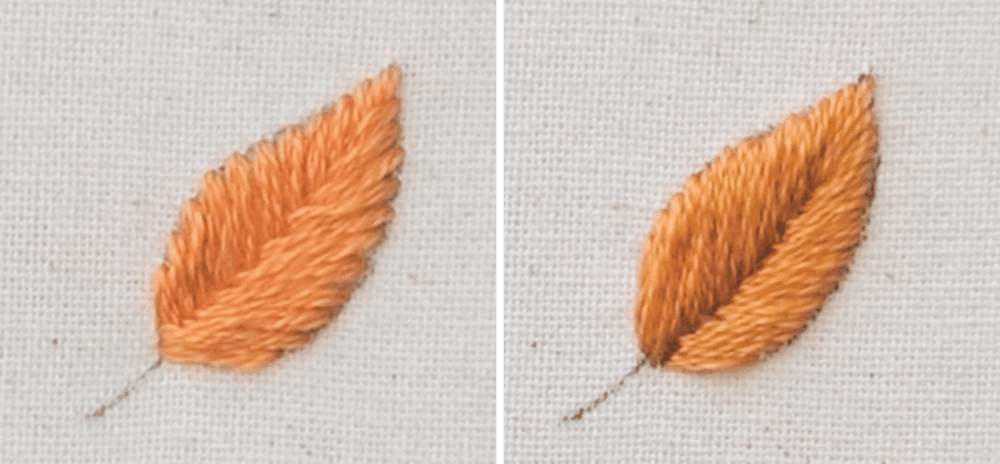
Fishbone stitch (left) - Leaf stitch (right)
What sets the Fishbone stitch apart from the Leaf stitch is the overlap between the stitches, creating a zigzag centerline – almost like a spine.
Open Fishbone Stitch
To demonstrate this spine effect better, we can apply the Fishbone stitch to make, well, the actual fishbone :)
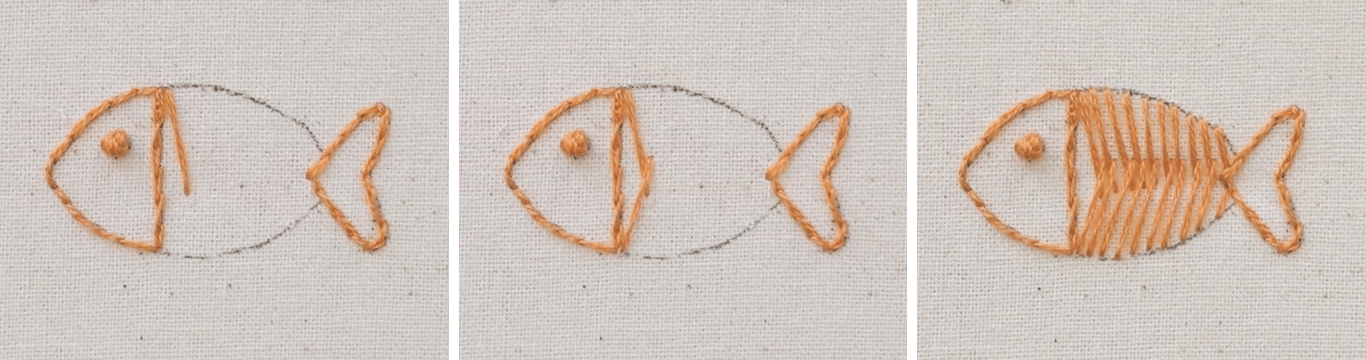
The Open Fishbone stitch follows the same process as the Fishbone stitch, with only one difference: the spacing between the stitches.
By spacing the stitches apart a bit and making the angles less slanted in this design, you can see the spine effect more clearly now. It's all about experimenting with variations to achieve different effects.
Practice Pattern
Download this free practice pattern here
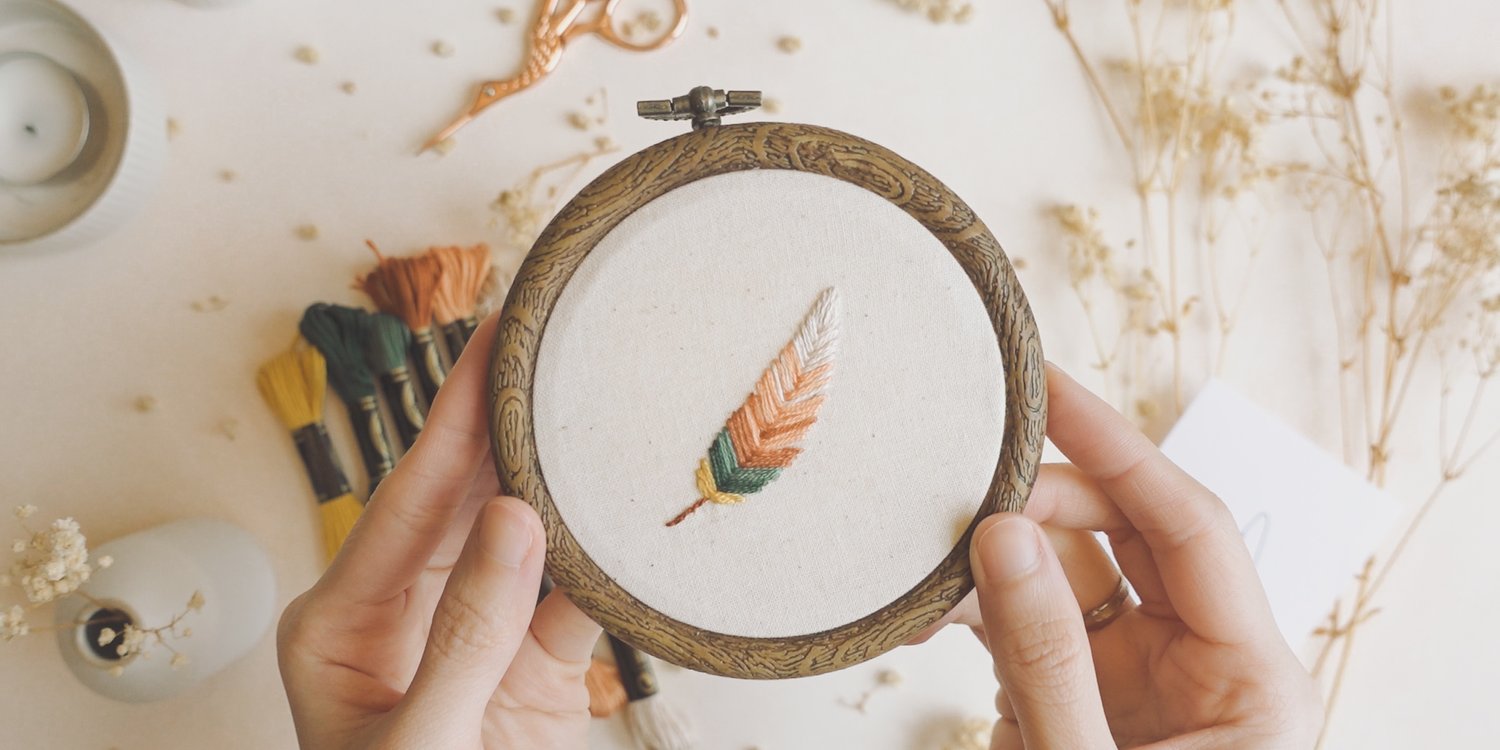
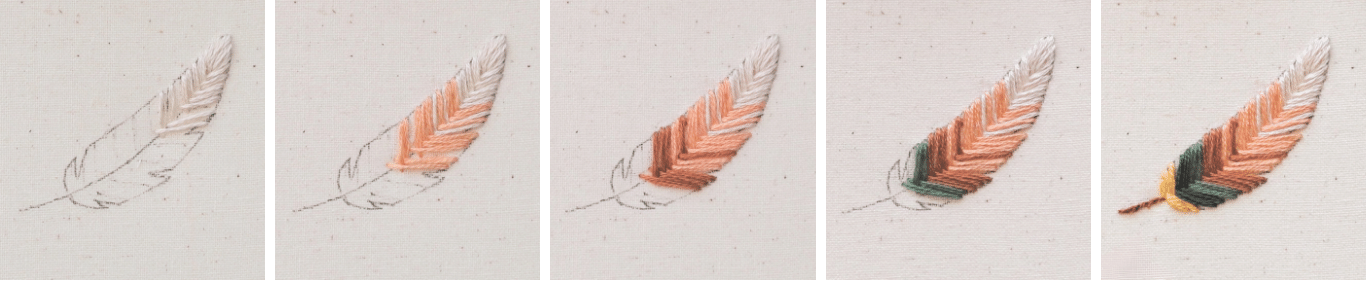
Apart from leaves, the spine effect created by the Fishbone stitch is also perfect for crafting feathers.
I've found it works well not to make the stitches too close together, so the colors don't overlap too much. This also leaves some gaps along the feather, adding to its texture. Remember to change the direction of the stitches to follow the shape of the feather.
Don't forget to watch the YouTube video for step-by-step guide to stitch this pattern.
To make the feather more visually captivating, I'm using different colors. Feel free to experiment with your own color palette. The primary goal of this pattern is to practice the Fishbone stitch and, most importantly, have some fun.
Happy stitching and see you in the next lesson!
Comments ()