

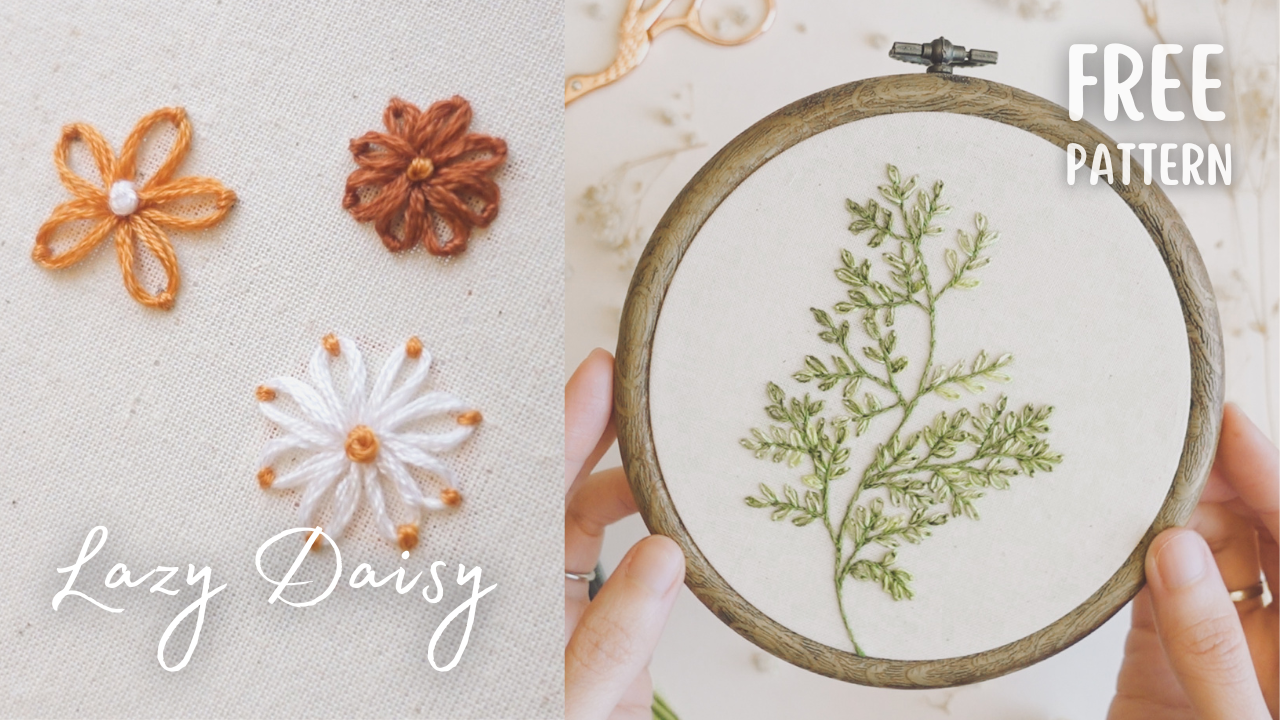
Welcome back for another exciting lesson of our Hand Embroidery Stitches series! Today, we'll learn a super fun stitch – the Lazy Daisy stitch. And as the name implies, it's perfect for quick and charming embroidery of flowers, petals, small leaves, or any adorable teardrop shapes.
Lazy Daisy Stitch: Embrace the Ease
Let's create a flower!
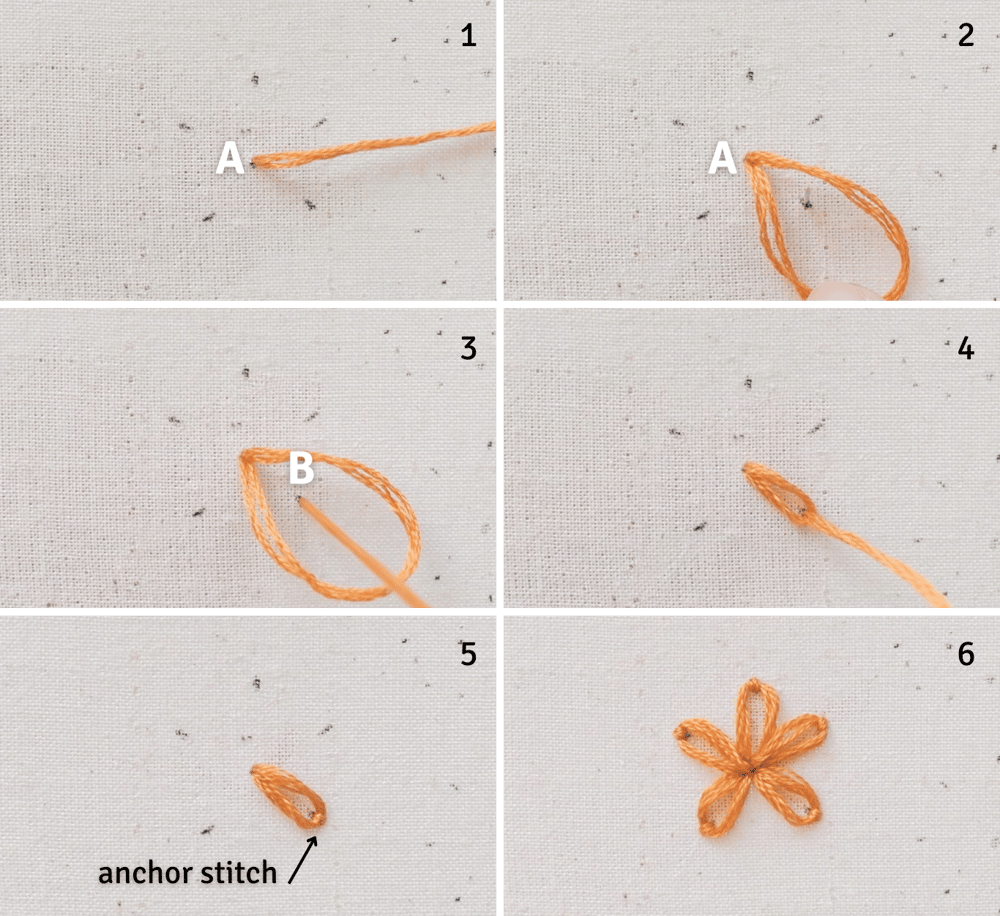
- To begin, bring the needle up through the back of the fabric at (A).
- Take the needle down at the same point at (A), but don't pull the thread all the way through – leave a small loop on the fabric's surface.
- Bring the needle up again a stitch length at (B), inside the loop.
- Pull the thread forward all the way to tighten the loop.
- Secure the loop with a tiny anchor stitch.
- Repeat the same process for the remaining petals.
As you can see, the steps are really similar to the Chain stitch that we learned in the previous lesson. That's why Lazy Daisy is sometimes known as Detached Chain stitch or Link stitch because it creates isolated chains rather than a continuous line.
When pulling the thread to tighten the loop, you can experiment with different tensions. A tighter loop can create a narrower shape, while a looser loop can give you a rounder shape.
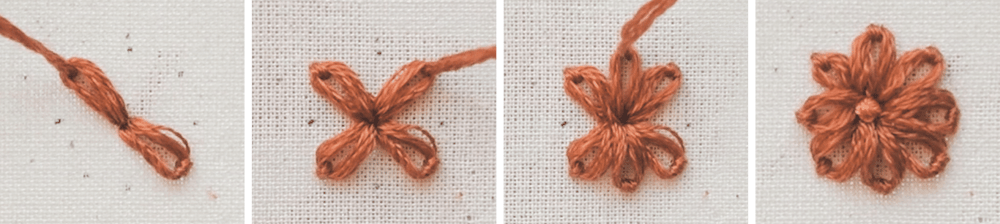
When embroidering a flower, it's a good idea to mark the tips of the petals first – this will help your flower look more symmetrical. Alternatively, stitch the petals in pairs that are opposite each other for a balanced look.
Two-Tone Lazy Daisy Stitch: Double the Fun
To make a cute two-tone flower, we would use the Reverse Chain stitch method.
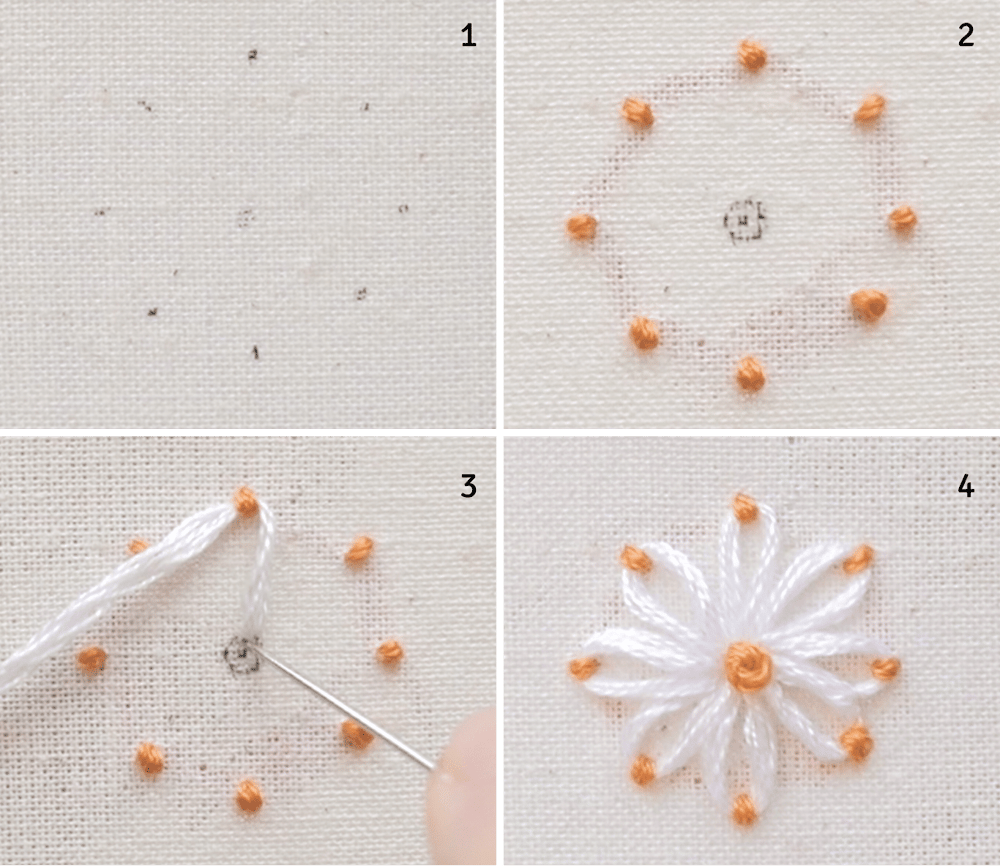
- Start by marking the center of the flower and the desired length of the petals.
- Create small anchor stitches, just like you would for Reverse Chain stitch, at the marked spots.
- Change to a new color and start the thread at the center. Slide the needle through the anchor and bring it back down to the same hole where it emerged.
- Repeat this process for the rest of the petals, but be careful at the center of the flower. Don't bring the needle up at the same point where you just took it down, or you'll undo the previous stitch.
Practice Pattern
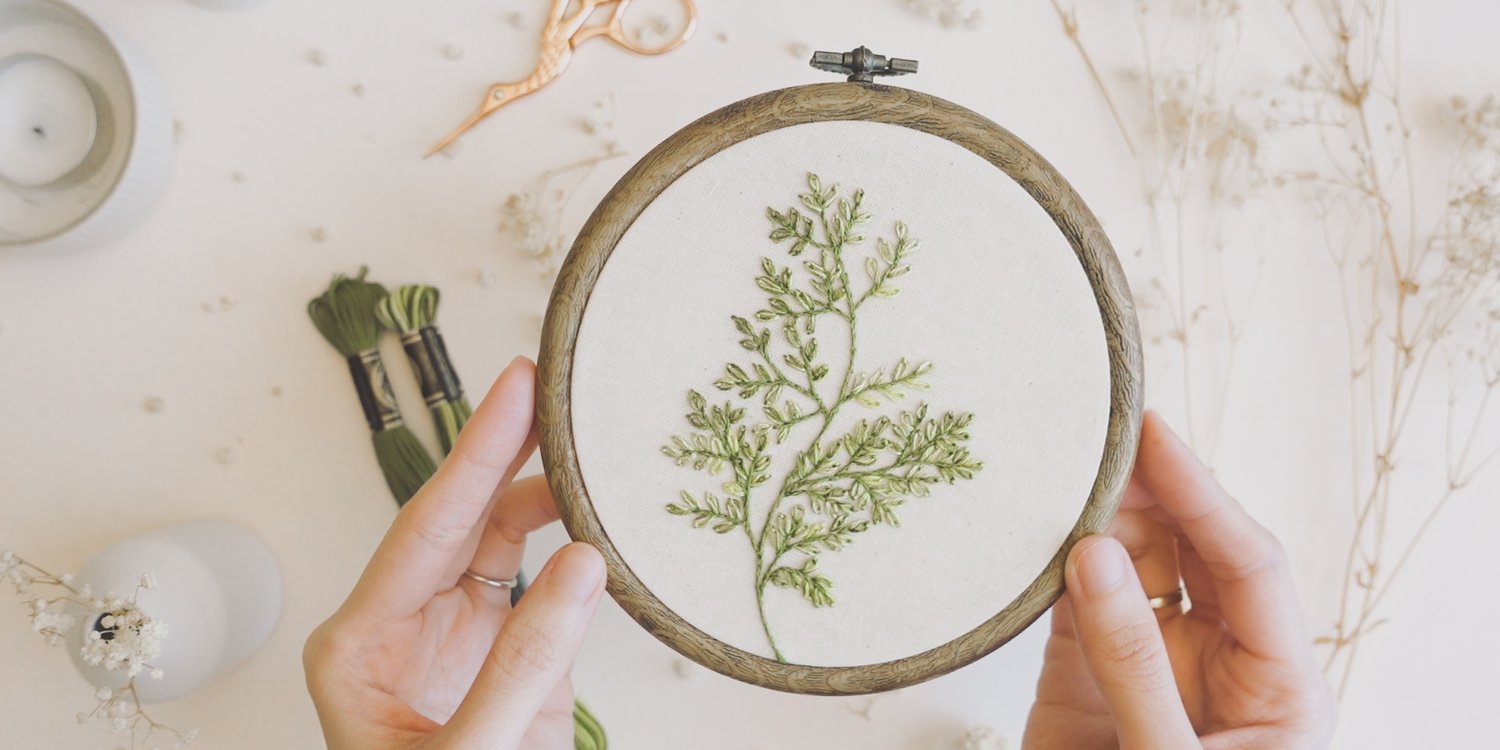
Download this free practice pattern here
This pattern used a variegated thread to create all the leaves, but feel free to experiment with different shades of green or stick to one colour. The choice is yours!
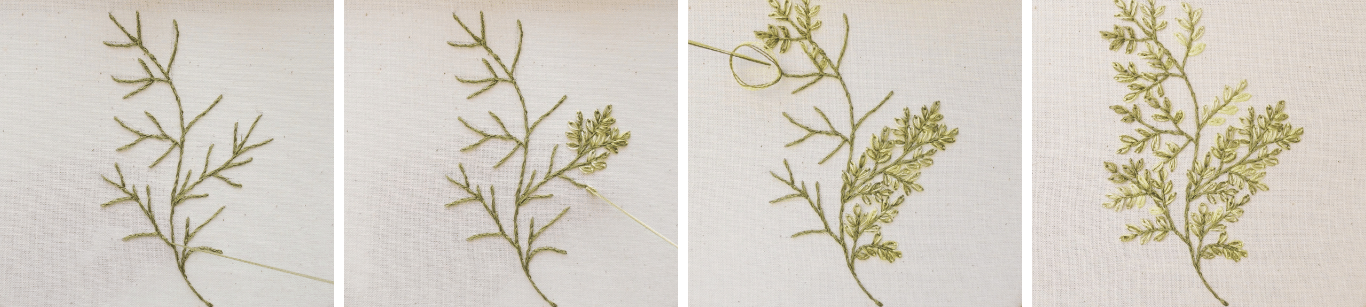
I hope you'll enjoy the soothing, repetitive process of crafting these tiny leaves and don't forget to watch the YouTube video for step-by-step guide to stitch this pattern.
Happy stitching and see you in the next lesson!
Comments ()