

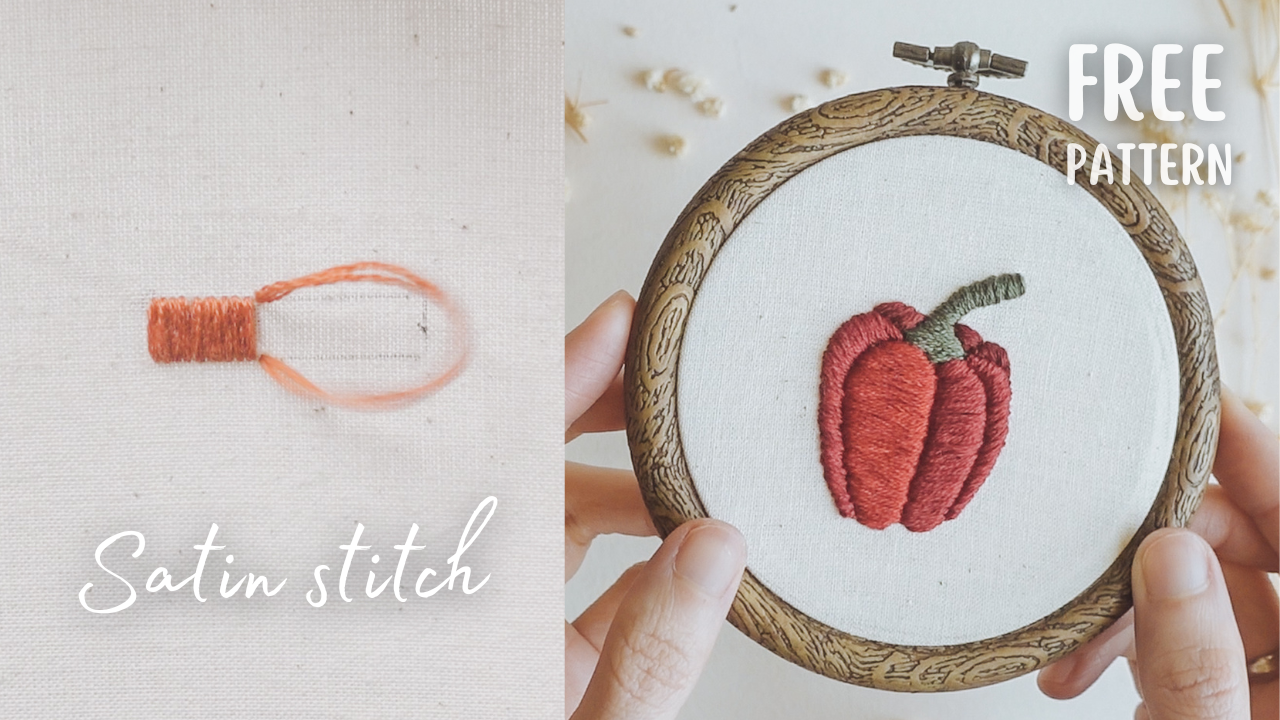
Welcome back to another fun lesson! The stitch that we will learn today is the Satin stitch commonly used for solid filling of an area. Satin stitch is basically a series of straight stitches that are done right next to each other to create a smooth satin-like finish.
Satin stitch can be intimidating but there are simple tips that can help improve your work right away. First thing first, ensure your hoop is drum-tight and your fabric is taut. This step is crucial for smooth, even stitches without any pulling, sagging, or distortion of your fabric.

- To begin, bring the needle up through the back of the fabric and come up at (A).
- Take the needle down, creating a straight stitch, to the other side of the outline at (B).
- Bring the needle up again on the same side as your starting point at (C) and make the second stitch, right next to the first one.
- Repeat the process of creating side-by-side straight stitches until the entire shape is filled. The stitch direction should stay consistent throughout the entire area.
For a smoother edge and a more defined shape with the Satin stitch, here's another tip: a padded edge.
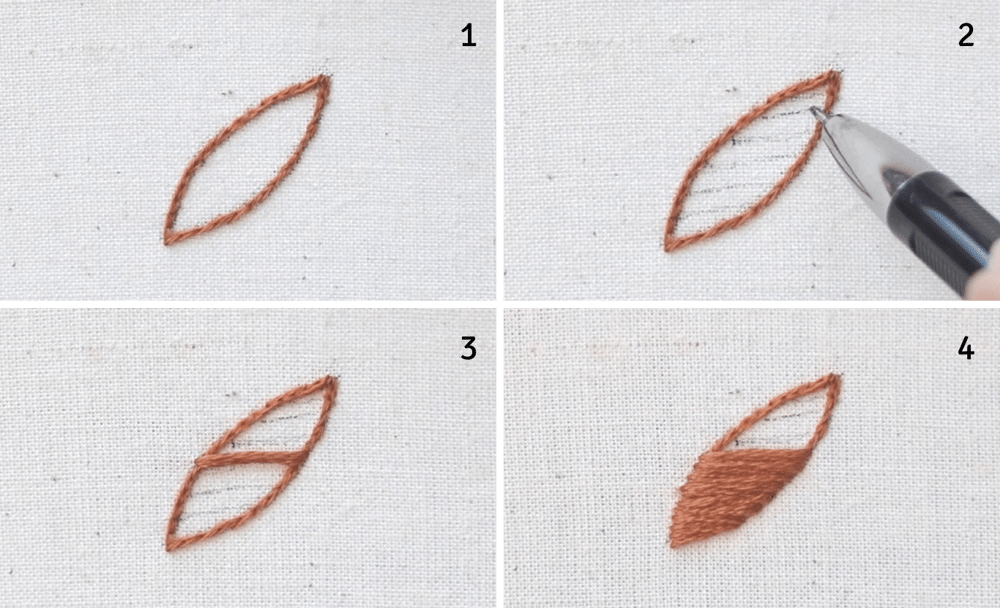
(1) For this leaf, I've created a padded edge using the Back Split stitch. You can also use other outline stitches like the Split stitch or Back stitch. Here I'm using two strands of threads to create this padded edge but if your designs are more delicate, one strand is perfect as well.
(2) To better visualise the direction of the stitches, I'm drawing some guidelines using a heat eraser pen. You can decide how slanted the stitches should be. Here I’m following the curve of the leaf so I think this angle is good.
(3) When dealing with an organic shape like this, it's recommended to start your stitches in the widest part of the shape and make diagonal stitches – it looks more interesting than straight stitches.
(4) Start your stitches just outside over the padded edge, covering it on the opposite side, and then continue with the side-by-side stitches to fill both halves of the leaf.
Keep in mind, don't make your stitches too long. Long stitches can cause sagging when you remove your fabric from the hoop, and you'll lose that smooth finish. The length I would aim for is no longer than 1cm or 0.5 inch.
If you plan to frame your artwork drum-tight, long stitches might work, but for other applications like embroidering on clothing or pillows, shorter stitches are the way to go. Shorter stitches hold their shape much better.
To recap, three simple tips that can help improve your Satin stitch right away are:
- Drum-tight hoop
- Padded edge
- Short stitches.
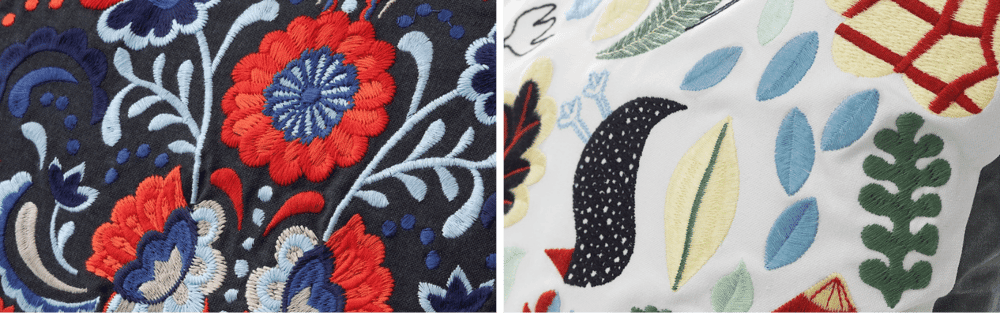
Satin stitches are sturdy when done correctly. If kept short and neat, they're durable and suitable for various projects. Take these IKEA pillows, for example – most of the stitches here are satin stitches, and it's held up beautifully. Satin stitch is a very common stitch used in machine embroidering for this reason.
Practice Pattern
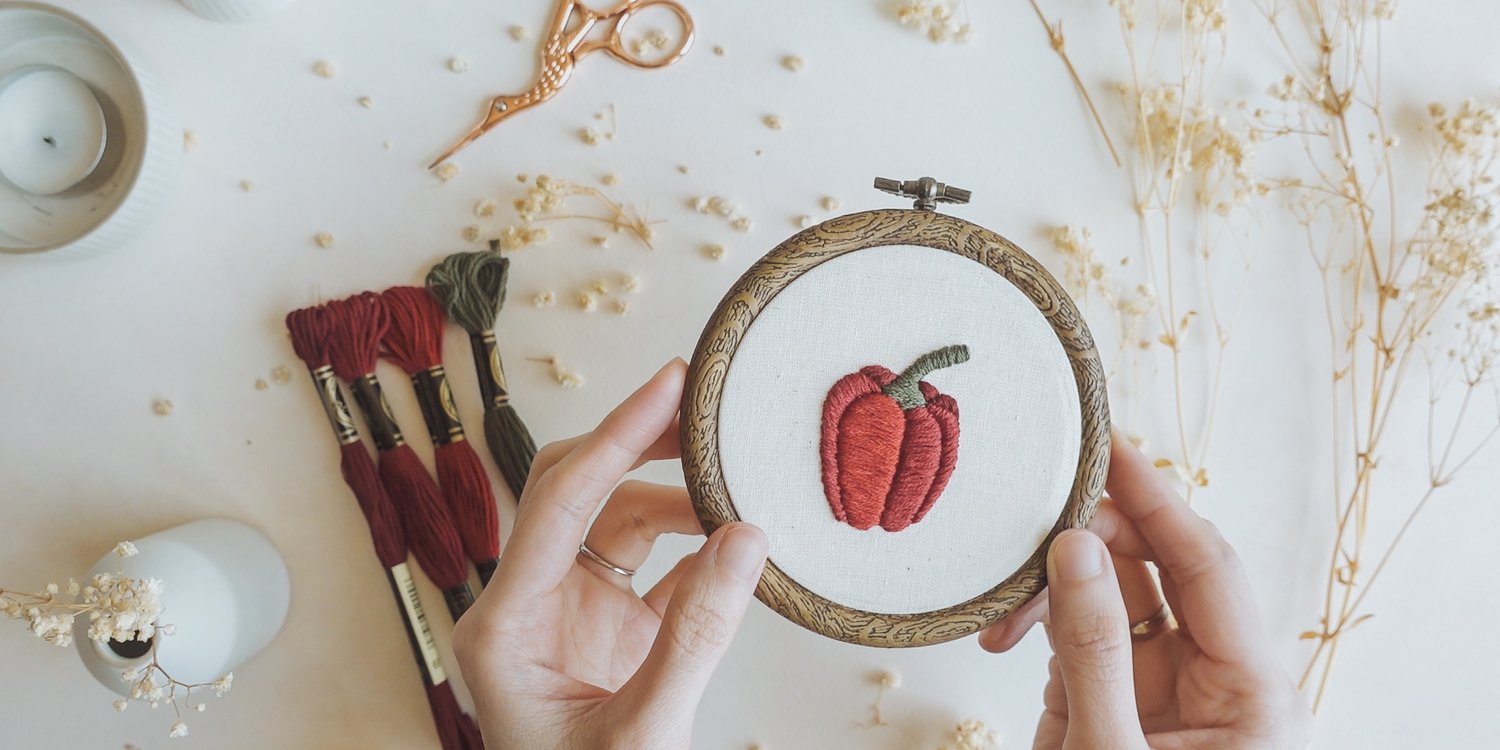
Download this free practice pattern here
This pattern is your Satin stitch playground, perfect for getting the hang of it with both simple and complex curves. But don't worry, you can watch the YouTube video for step-by-step guide to assist you along the way.
Satin stitch is all about patience, so don't rush it. Embrace the soothing, repetitive process. Put on your favourite music, and stitch by stitch, you'll end up with a beautiful design and a wonderful time.
Happy stitching and see you in the next lesson!
Comments ()