
Disclosure: some of the links you'll find here are affiliate links. When you use them to grab some embroidery goodies, I may earn a teeny tiny commission at no extra thread to you.
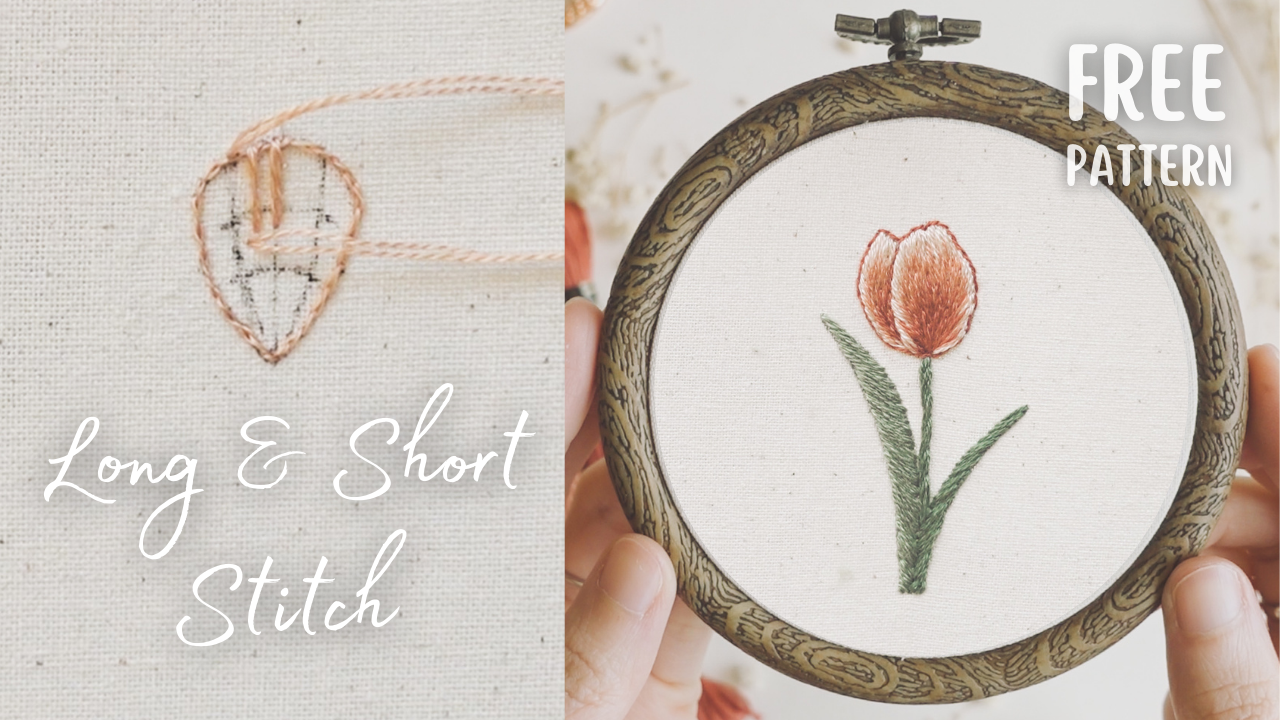
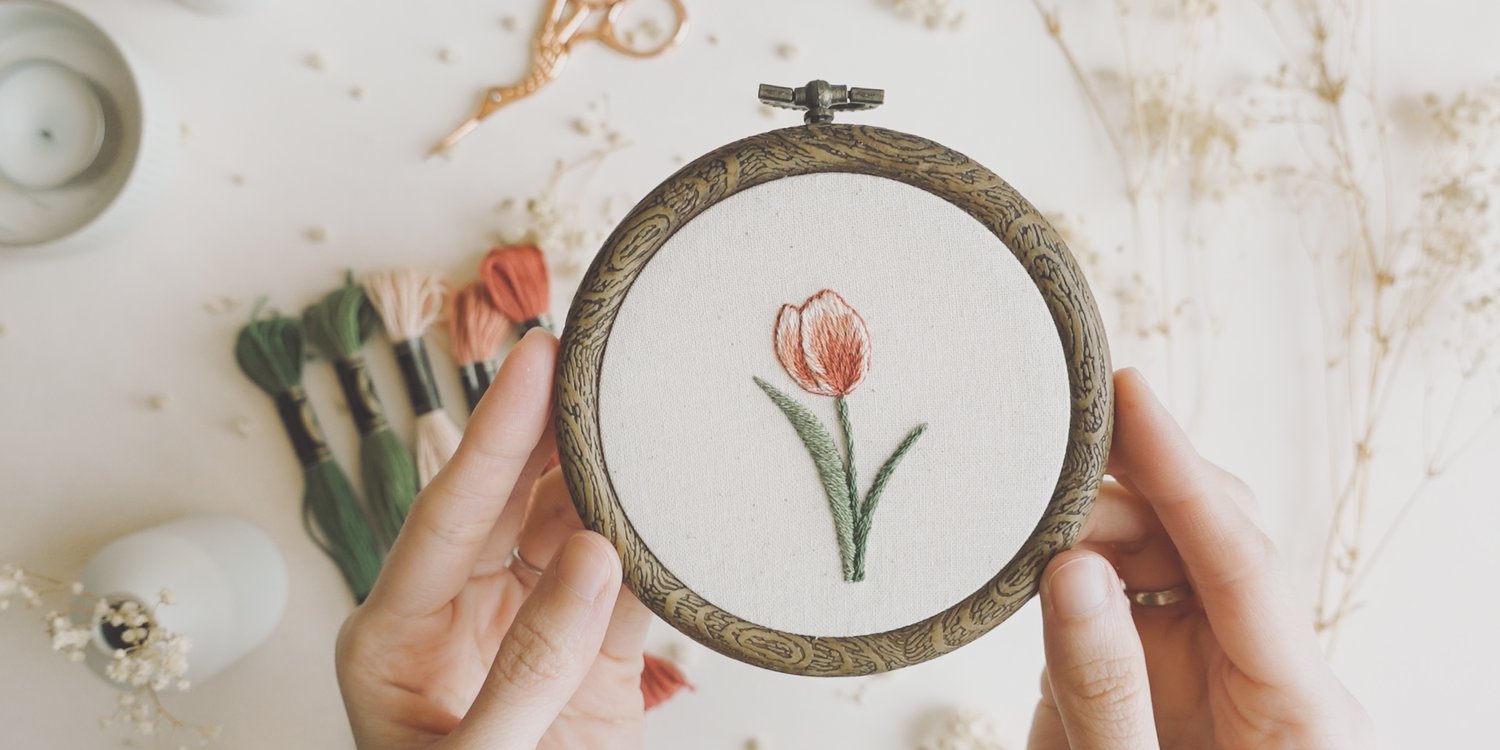
Today, we'll be exploring a fundamental stitch in the world of embroidery – the Long and Short stitch, commonly used for solid fillings. I truly believe it's a must-learn, especially if you want to create delicate,
more realistic embroidery works. I highly recommend watching the Youtube video for more detailed explanation.
Just like with the Satin stitch, first thing first, ensure your hoop is drum-tight and your fabric is taut. This step is crucial for smooth, even stitches without any pulling, sagging, or distortion of your fabric.

Start by drawing some guidelines on your fabric using a heat eraser pen. These guidelines will help you visualize the direction of your stitches, especially in more complex or curvy shapes. Additionally, I will also make some marks to show you how many rows of stitches we might have.
Just like with the Satin stitch, you can create a smoother edge and a more defined shape for the Long and Short stitch by adding a padded edge. You can achieve this by using the Back Split stitch, Split stitch, or Back stitch. This step is optional but recommended for certain designs.
First Row: setting the foundation
The first most outer edge row is the often the most important because it defines the shape and the direction of the stitches.
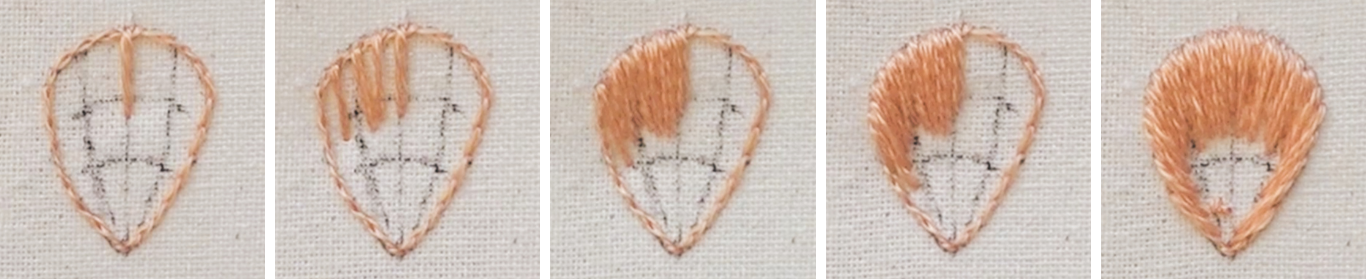
I usually start in the center and work down to one side. Then, complete the other side.
If you have a padded edge, start your stitches just outside over the padded edge and create straight stitches with varying lengths, following the guided lines.
For shapes that are relatively straight like this, you can create longer stitches, about 7mm or ⅓ inch. However, if your design features curvier paths, you should shorten the stitches accordingly.
Using two strands of thread can help speed up the process and create a fuller area. A thicker first row will also help the second row blend in better.
Like the Satin stitch, Long and Short stitch is basically a series of straight stitches that are done right next to each other and varies in length. Think of it more like a Random Length stitch.
The goal is to make the stitches close together to create a smooth surface without gaps, while avoiding overlapping. By varying the lengths, the row of stitches looks more natural, less rigid, and also help the subsequent rows blend in easier.
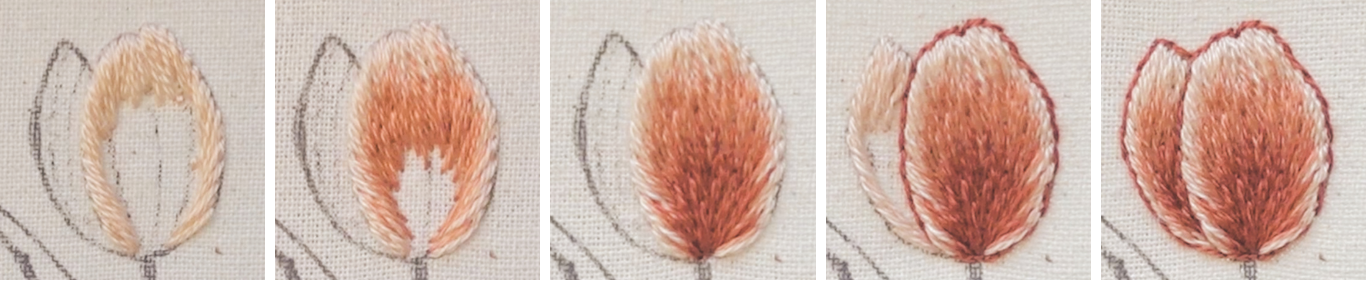
Subsequent Rows: filling and blending in
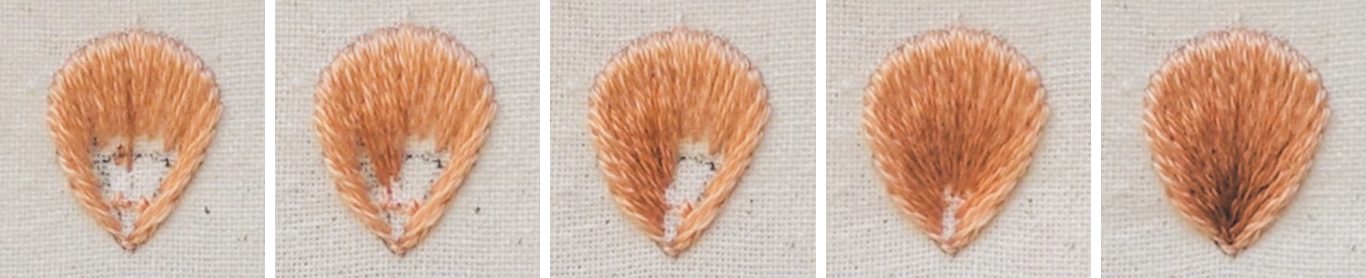
For the second row, also start from the middle of the petal. Unlike the first row, the lengths of these stitches don't need to vary significantly.
Instead, position some stitches slightly higher or lower than others. The highest point should be about ⅓ of the length of the first row from the top.
By starting stitches at different points and varying their heights, your current row will blend more smoothly into the previous row, resulting in a less rigid appearance. If you use different thread colors, the color will blend better as well.
To achieve a smoother surface, especially from the second row onwards, always start your stitches by coming up among the stitches from the previous rows and taking your needle down at the current working row. This will help prevent a peppery look when tiny holes tiny holes are visible because the thread is pulling the fabric.
Avoid making stitches too long, as this can cause them to sag when the fabric is removed from the hoop. For designs intended to be framed drum-tight, longer stitches may work. However, for other applications like embroidering on clothing or pillows, shorter stitches are preferable to maintain shape.
Long and Short stitch, when done correctly, is not fragile. This stitch is very durable and suitable for a wide range of embroidery projects.
You can use Long and Short stitch to fill any area, it takes curves exceptionally well, and can help blend colors to achieve smooth gradients. It’s the primary stitch used for needle painting for that reason.
The principle of Long and Short stitch is not complicated, quite straightforward in fact, but to create a smooth, realistic look will require a lot of practice.
Practice Pattern
Download this free practice pattern here
Don't forget to watch the YouTube video for step-by-step guide to stitch this pattern.
I’m by no means an expert at Long and Short stitch but I love doing it. This stitch can be used to ‘paint’ anything, the potential is endless. I actually prefer it to Satin stitch, which requires a lot of precision.
It’s probably an unpopular opinion, but I think machines can actually perform the Satin stitch better than me any day but machines mostly likely won’t be able to blend colors as smoothly as being done by hand with the Long & Short stitch. So I picked my battle :P
If you love to dive deeper and mastering Long and Short stitch, I recommend these materials by Trish Burr:
- Book:
- Video: The Long and Short of it
I hope you have fun and see you in the next lessons, where we will learn raised stitches that can give your work 3D effect!
Comments ()