
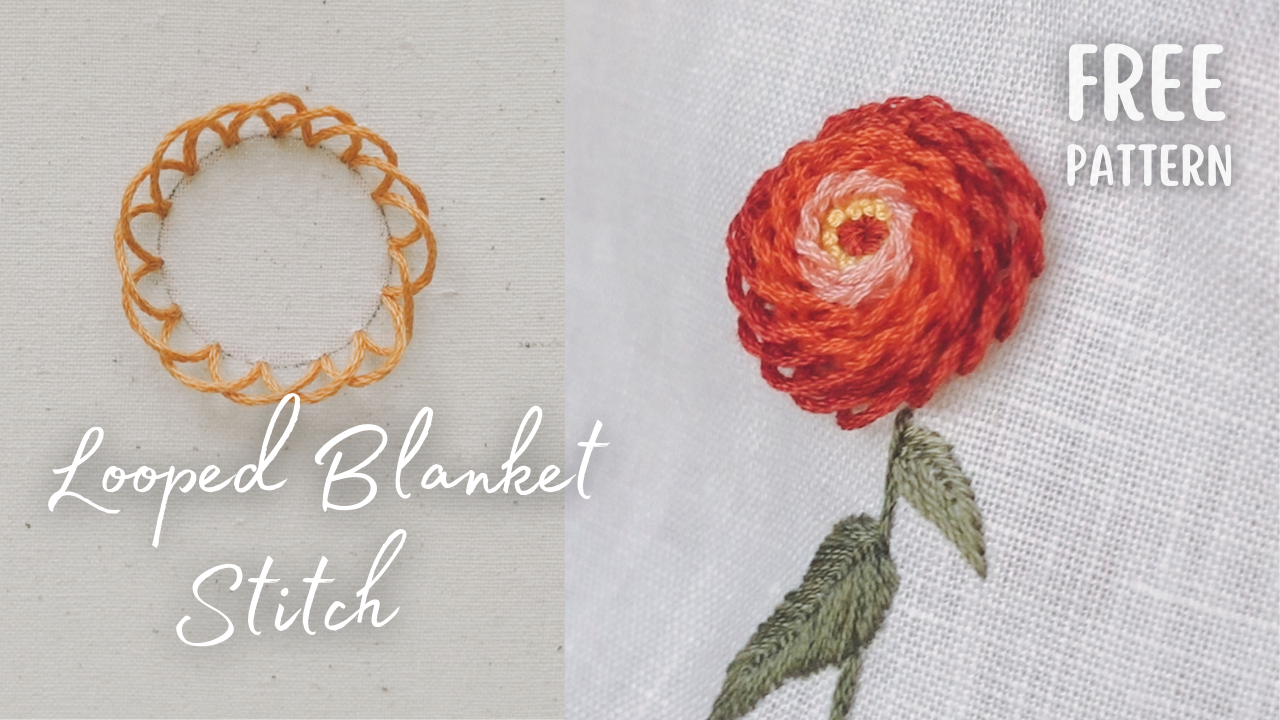
Welcome back for another lesson in the Hand Embroidery stitches series! Let me introduce you to another fun stitch – the Looped Blanket Stitch. This stitch might not be as well-known as others but is fantastic for creating quick and charming 3D flowers.
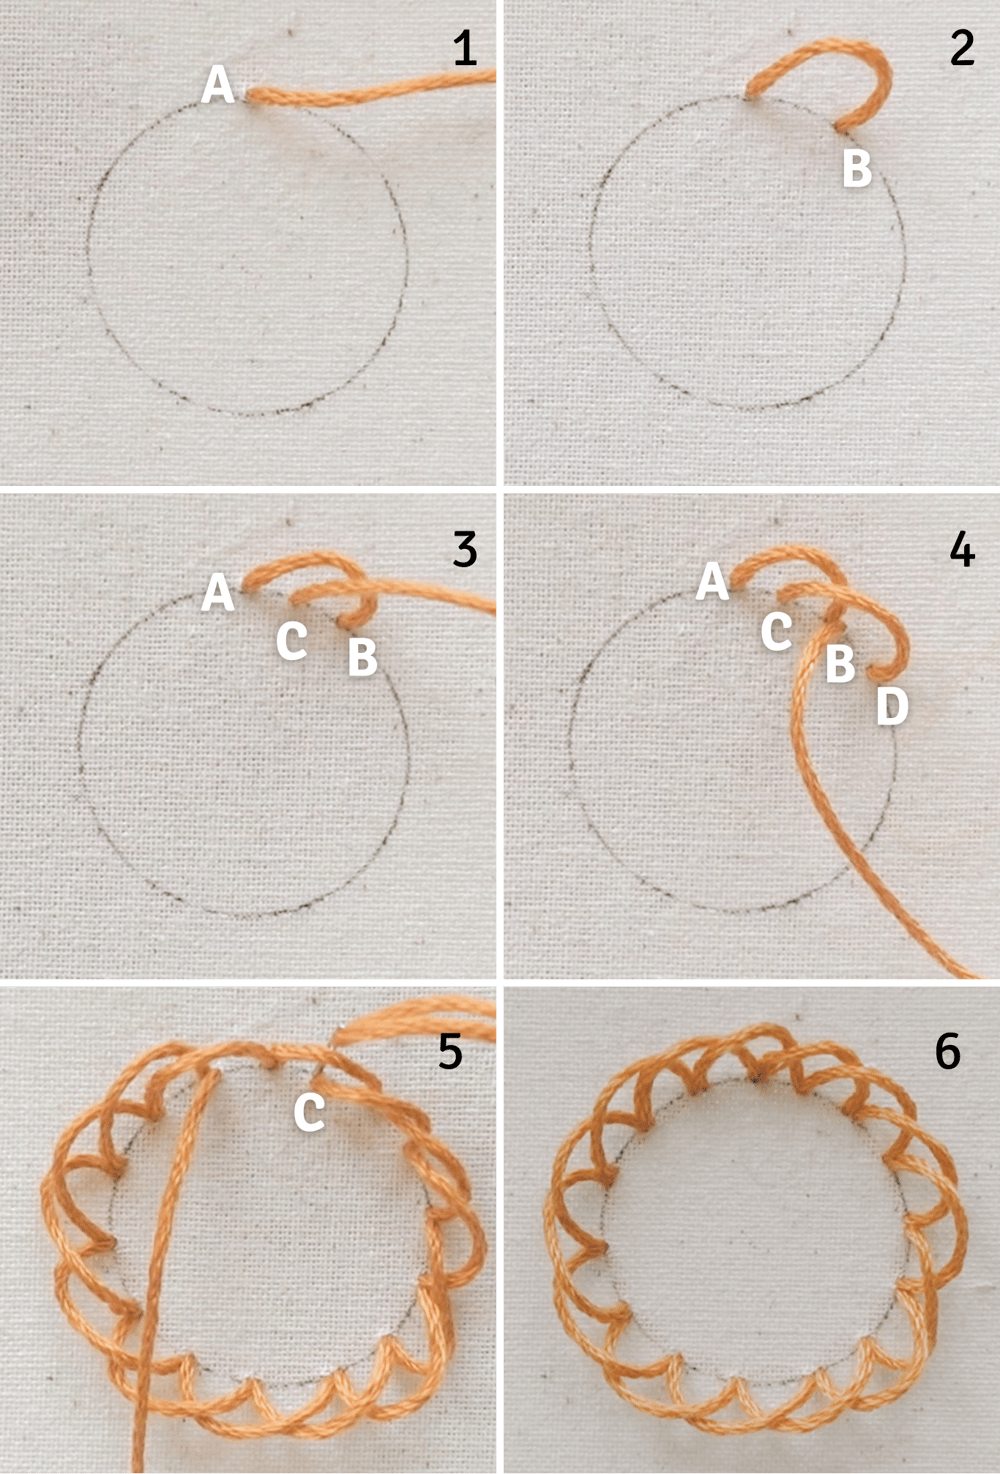
- Begin by bringing the needle up from the back of the fabric at (A)
- Take the needle down at (B) to create the first stitch, leaving a small loop on the fabric's surface. The size of this loop will be the size of your petal.
- Bring the needle up in the middle of the first stitch at (C)
- Make the second stitch by taking the needle down a stitch length away at (D) and coming up at (B), which is also the middle of the second stitch.
- Continue creating a row of overlapping loops until you reach the starting point. To make the circle seamless, once you reach the start point, take the needle behind the very first loop and come down at the start of the second loop at (C).
- That's it!
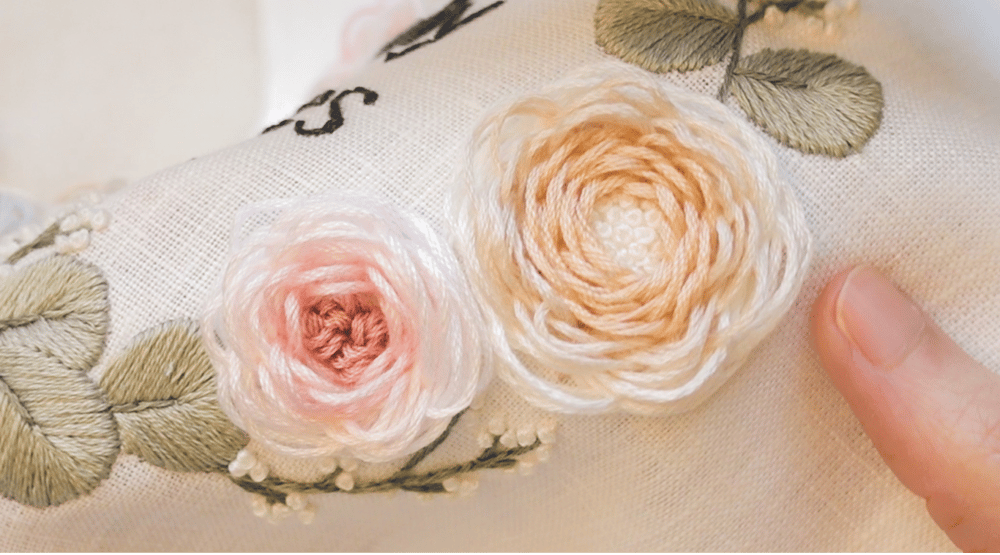
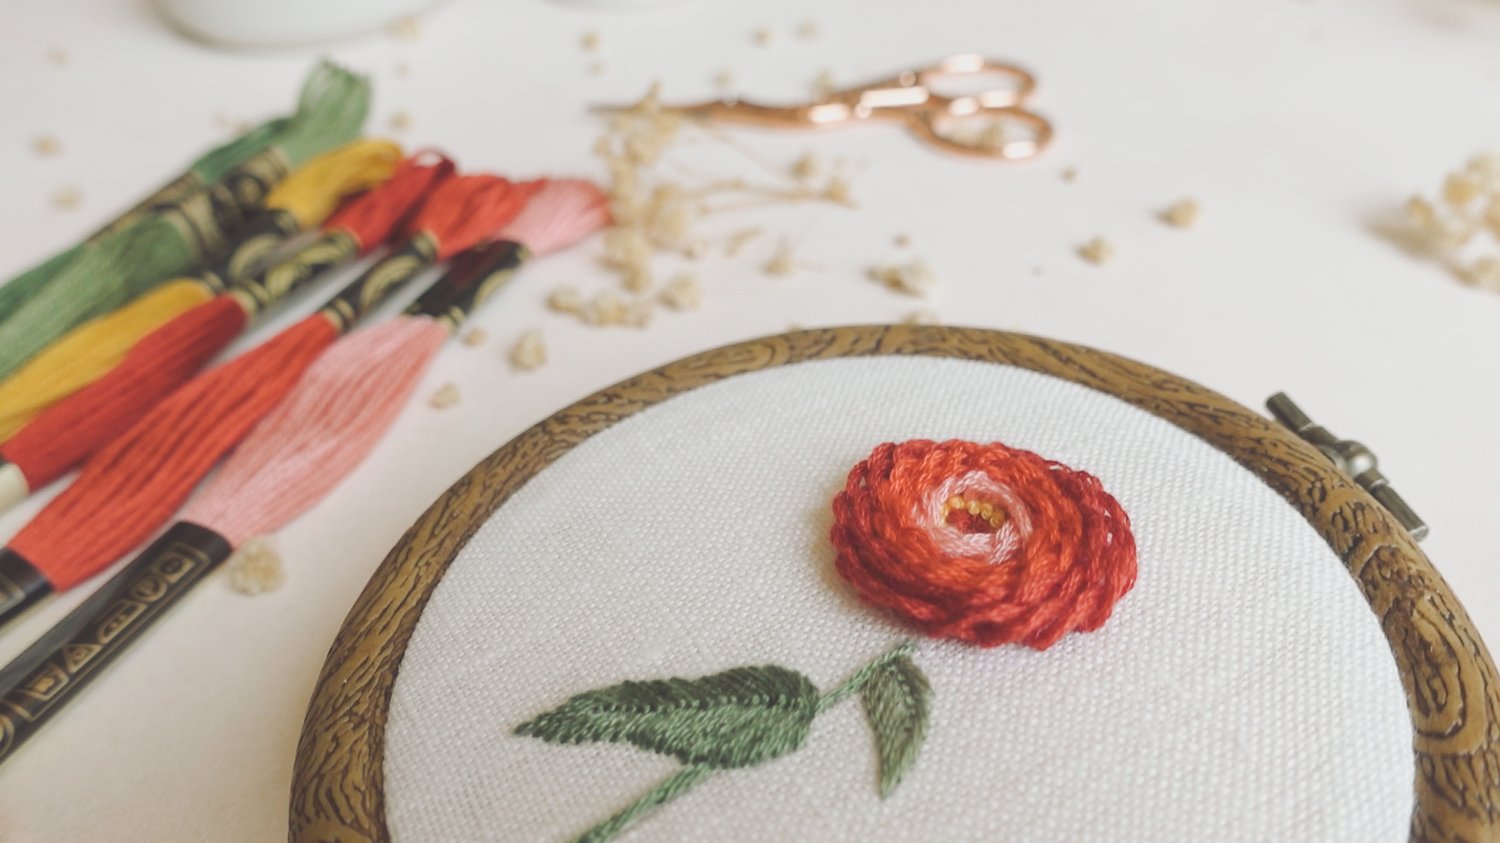
You can create as many rounds of petals as you like, just like what I did for the peony above. It's a simple stitch that can have beautiful application!
Practice Pattern
Download this free practice pattern here
Since this Looped Blanket stitch is perfect to make small petals, I think it's a great stitch to make this Zinnia flower.
I first made the leaves using the Fly or Leaf stitch, then the Stem stitch for the branch. For the most inner circle, I used the Long and Short stitch to fill the area, and the French Knots at the edge.
Since the Looped Blanket stitch is quick to make but not as sturdy, the loops can be easily pulled. That’s why I want to make this stitch at the last step to avoid touching the petals too much.
Working from the most outer circle, we will start creating rounds of petals. If you run out of thread midway, simply do the ending stitches and continue where you left off. The connecting part should be easily hidden among the petals.
I make the outer petals bigger and as I move towards the center, the petals become smaller.

Don't forget to watch the YouTube video for step-by-step guide to stitch this pattern.
I hope you have fun. Happy stitching and see you in the next lesson!
Comments ()