
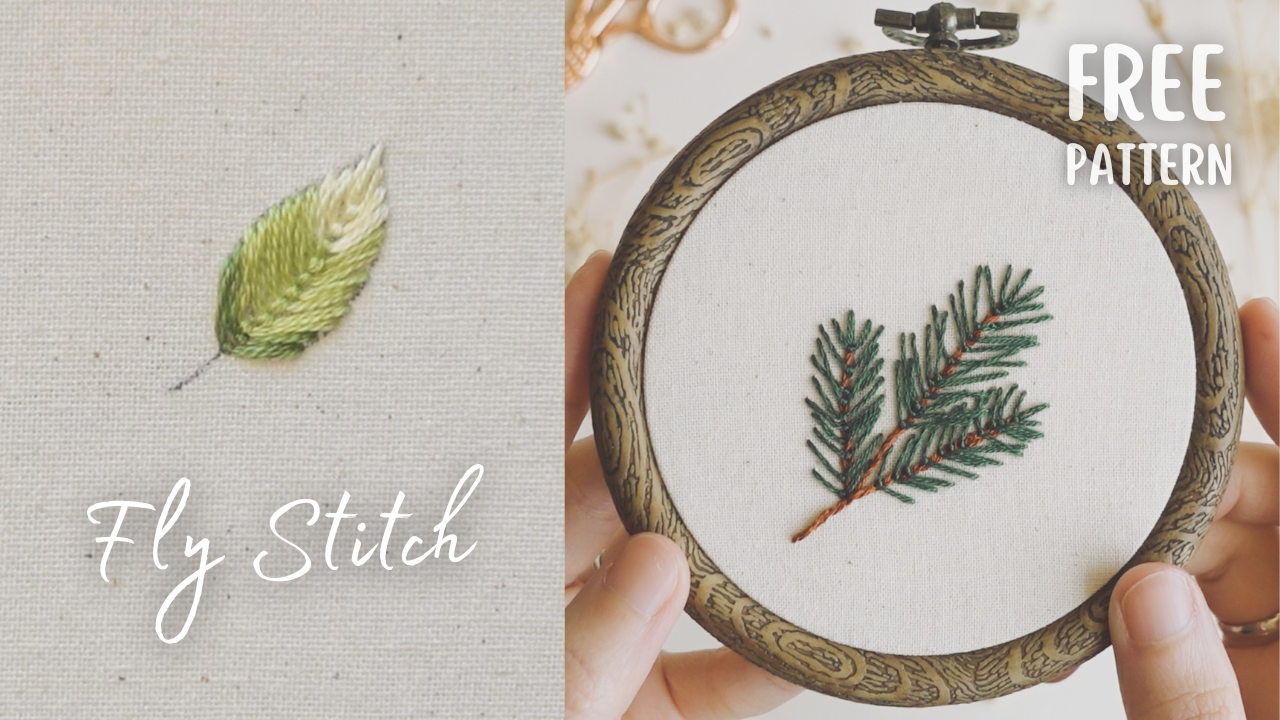
Welcome back for another exciting lesson of our Hand Embroidery Stitches series! Today, we'll learn a really fun stitch – the Fly stitch, a versatile stitch that resembles a V or Y shape. It's commonly used for crafting leaves, feathers, and borders so let's get started!
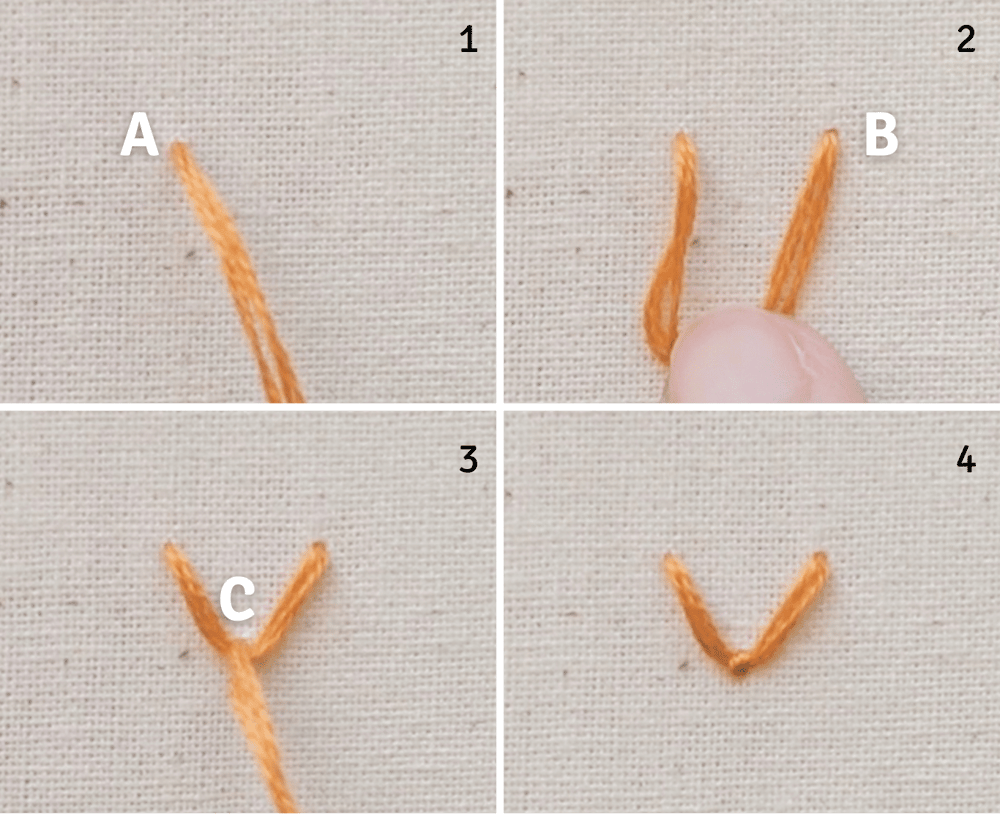
- To begin, bring the needle up through the back of the fabric at (A)
- Take the needle down at (B). But don't pull the thread all the way through just yet, leaving a small loop on the fabric surface.
- Bring the needle up again at (C) inside the loop. Pull the thread forward all the way to tighten the loop – not too tight, though, as we don't want to distort the fabric.
- Finally, secure the loop with a tiny anchor stitch. That's it!
This stitch to me is very similar to the Lazy Daisy stitch, with the main difference being that when you take the needle down, you won't return to the starting point, creating an enclosed shape. Instead, you leave a gap, resulting in an open V shape.
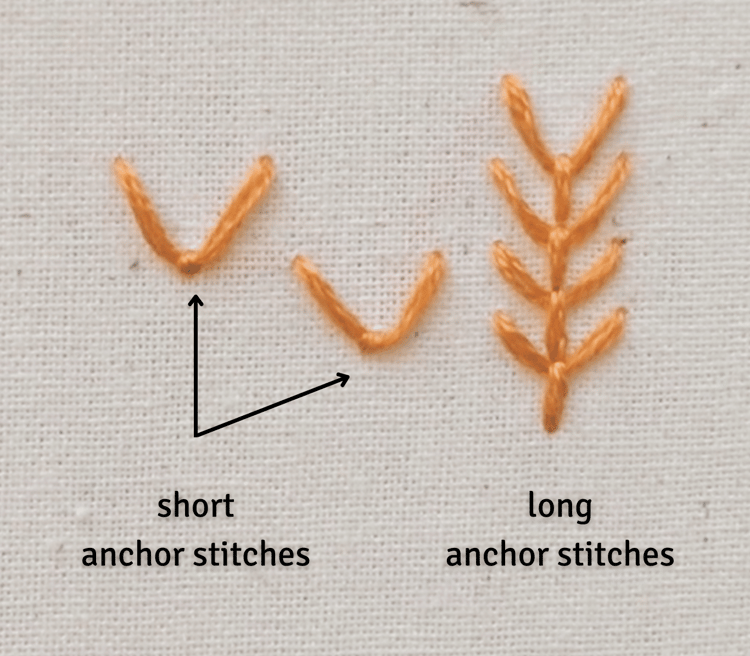
The anchor stitch can vary in length, offering versatility. For instance, the border design above is created with the Y-shaped Fly stitches that have long anchor stitches.
When pulling the thread to tighten the loop, you can experiment with different tensions. A tighter loop will give you a sharper V shape, while a looser loop will result in a rounder U shape.
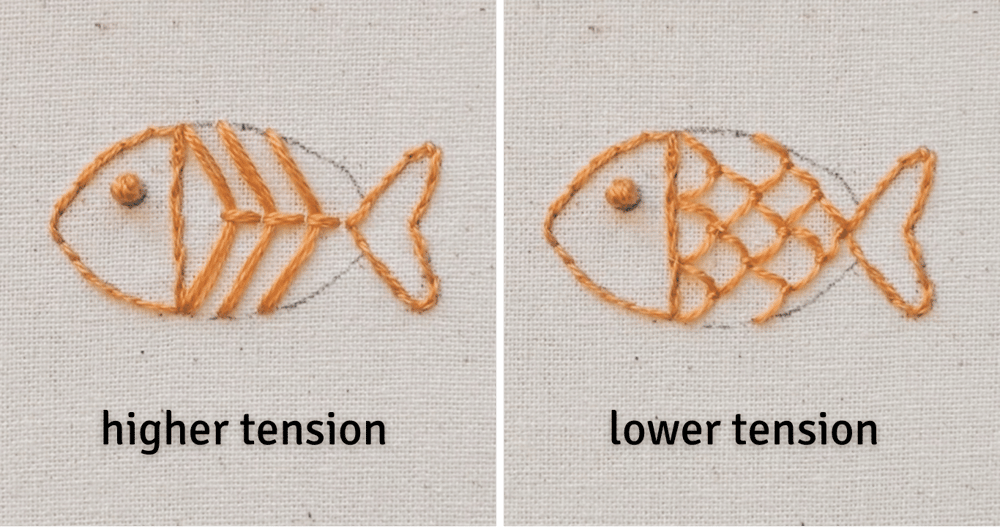
I experimented with a both tight and loose thread tensions while crafting this fish. Tighter tension created a sharp spine effect while looser tension created an effect resemble the fish scales.
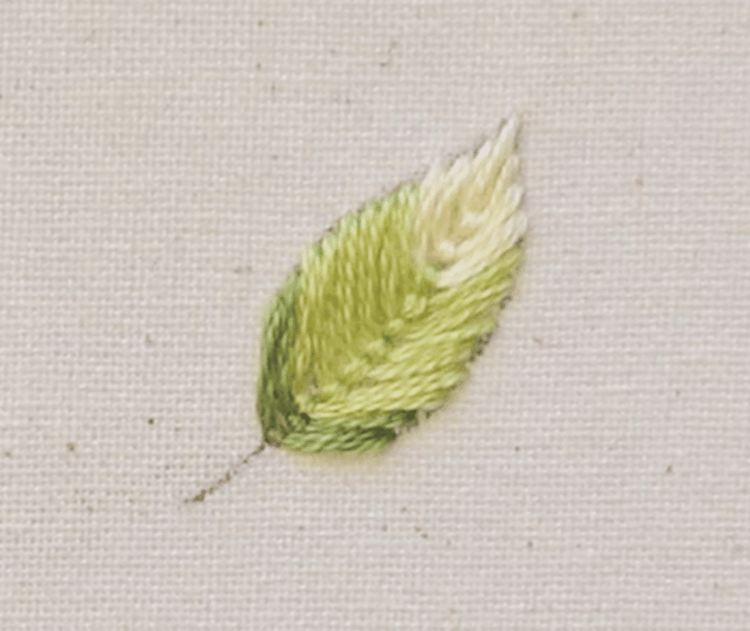
The Fly stitch is also excellent for filling leaves because it follows the leaf's shape effortlessly, as seen here. In fact, it's often easier to fill a leaf using the Fly stitch rather than the Leaf or Satin stitch. When the stitches are closely spaced together, the anchor stitches also create a nice midrib or centerline for the leaf.
Practice Pattern
Download this free practice pattern here
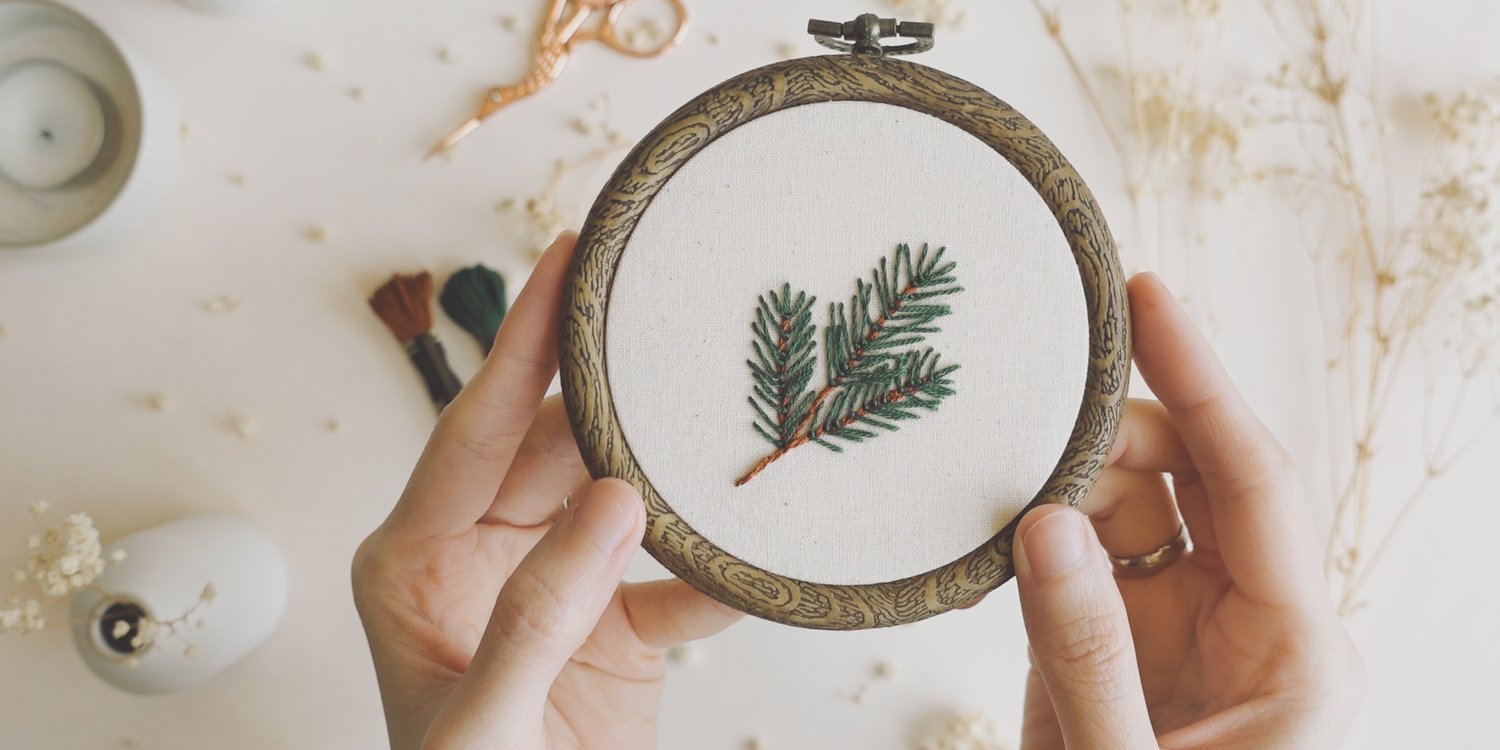
Thanks to its sharp angles and pointy ends, the Fly stitch is perfect for creating tiny leaves in this pine needle design.
Don't forget to watch the YouTube video for step-by-step guide to stitch this pattern.
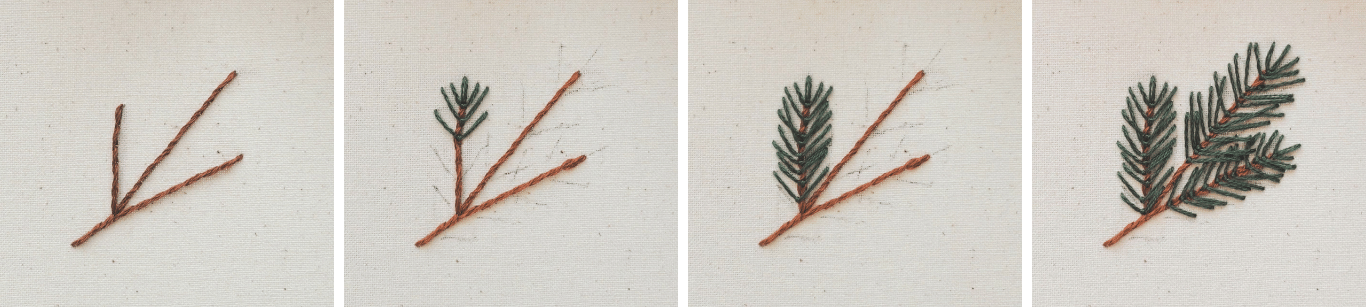
We'll start by using the Stem stitch to make the twig. Then, we'll craft the tiny leaves using the Fly stitch, beginning from the tip of the twig. As you go along, feel free to experiment by changing the spacing and angle of the stitches to make it look more natural. Don't hesitate to overlap them once in a while as well.
It's a fantastic addition to your embroidery repertoire, allowing you to create a wide array of designs, from leaves to spikes and beyond.
I hope you have fun. Happy stitching and see you in the next lesson!
Comments ()